Making your own shelves
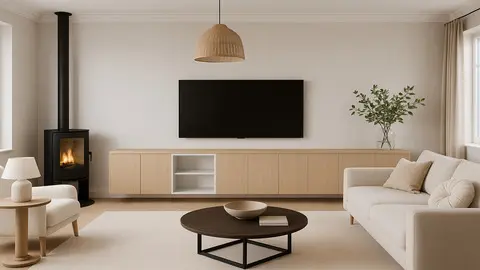
A few sturdy, beautiful shelves can be seen in every home. It is functional and beautiful for decoration. But how do you make your own shelves? In this article, we explain how to make shelves and share inspiration for shelves in, for example, a niche, for the bathroom, in the storage room or in a shelving unit.
- How to make to size shelves yourself?
- What items do you need to make shelves?
- How to make a drawing for shelves?
- How many supports do you use per shelf?
- How do you attach a shelf to the wall?
- How do you fix a shelf between 2 walls or in a niche?
- What material do you use for made-to-measure shelves?
- Examples of shelves made by our handymen
- Getting started with your own shelves
How to make to size shelves yourself?
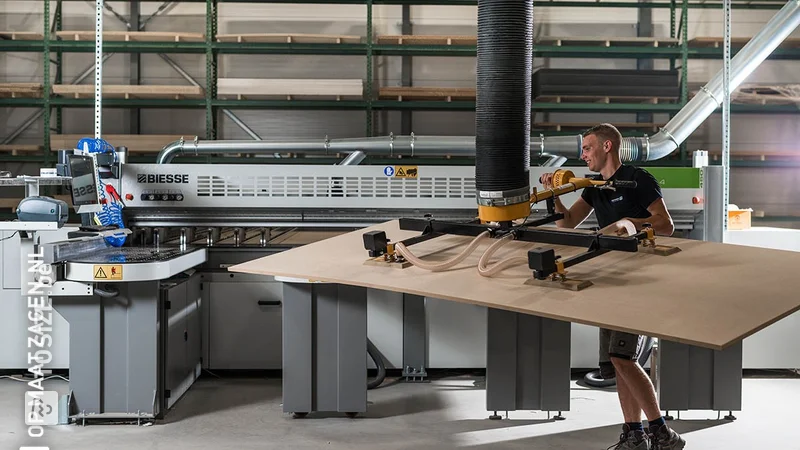
To make bespoke shelves, you obviously need good shelves to begin with. At TOSIZE.be, you can find a large Assortment range of high-quality board material. Think MDF, plywood, plywood, OSB, phenolic plywood, underlayment, furniture panels and joinery panels.
You order the wood precisely sawn to size in our webshop. You specify down to the millimetre the size of the perfectly straight sawn shelves you need. We will then deliver the material to your home. That saves you a lot of work and sawdust!
What items do you need to make shelves?
Before you get started assembling your shelves, it is necessary to get a few things ready.
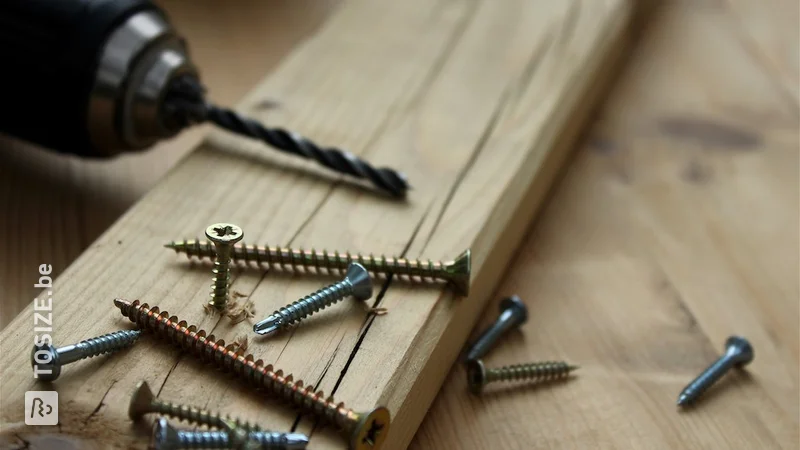
- Cordless drill: to easily pre-drill holes and turn the screws in your sheet material
- Squared paper, pencil, eraser, ruler: to make a drawing
- Cutter: you may need to mount boards blindly
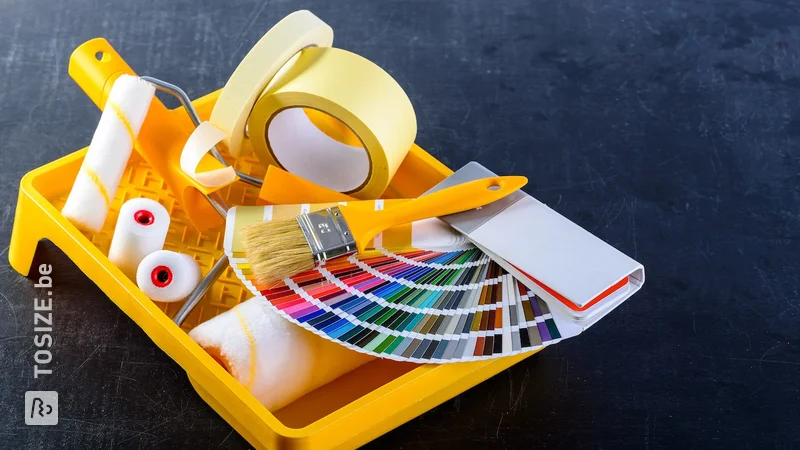
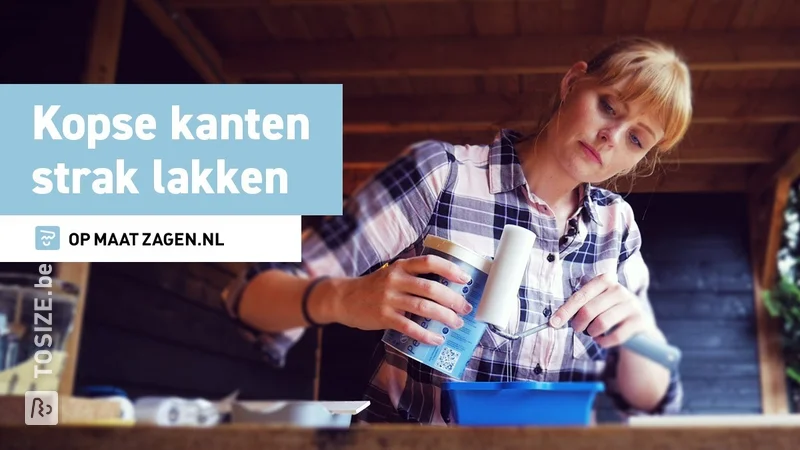
- Primer, edge sealer, lacquer: most timbers from TOSIZE.be have yet to be finished
- Screws and dowels: to fix the shelf supports in the wall
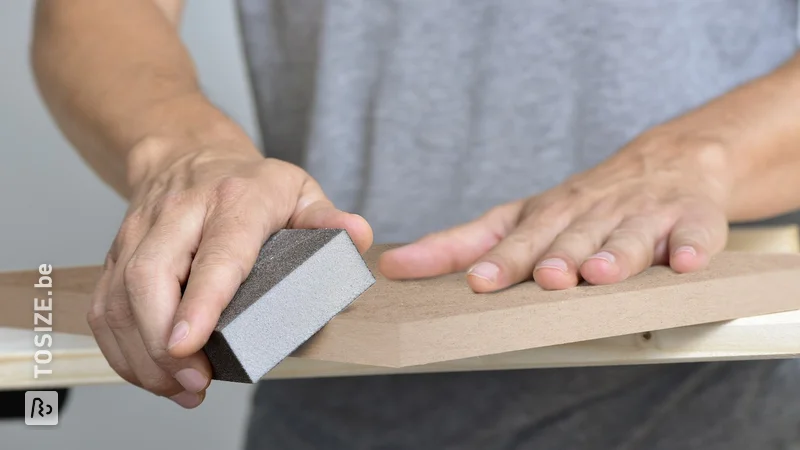
- Sandpaper: always handy to have on hand to smooth away unevenness or to neatly sand your drill holes
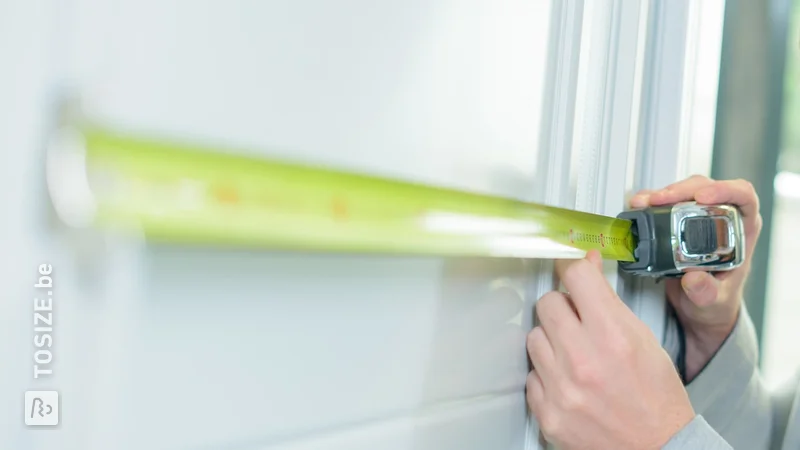
- Tape measure or folding rule: to measure your shelves exactly and order them in the right size from us
- Level: so nothing rolls off your shelves later on
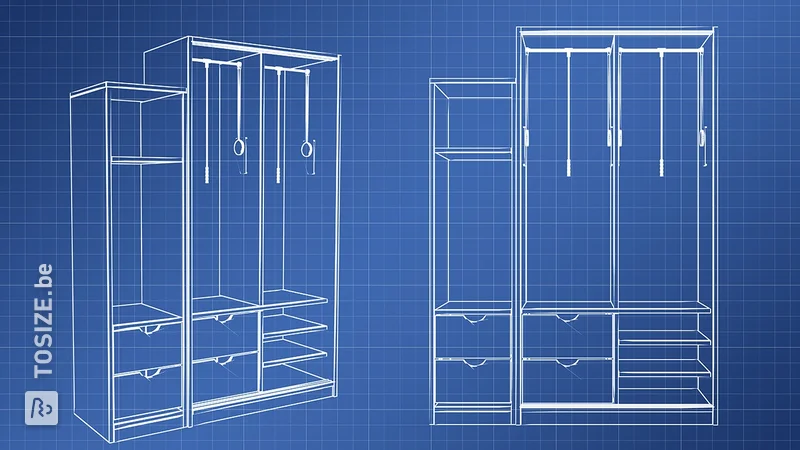
How to make a drawing for shelves?
It won't always be necessary to make a drawing of your shelves before you start. But, it can be useful, especially if you need several shelves in different sizes or if you have a complicated composition in mind.
By making a drawing in advance, you think carefully about your design, what materials you need and force yourself to measure everything properly.
You can simply use a pencil with graph paper, a ruler and an eraser for your sketch. If necessary, you can use painter's tape to tape the positions of the shelves on the wall. That way you can see in advance exactly how much space the shelves will take up.
Will you install your shelves in a niche? Then remember that no house is completely straight. Measure the measurements in several places, both at the top and bottom of the niche. That way you won't be confronted with any nasty surprises afterwards.
Tip: you can mark each board in your order in our online shop. That way, once your wood is delivered, you know exactly which shelf belongs where in your design. That saves some puzzling.
How many supports do you use per shelf?
You normally use 2 supports for a shelf. Keep about 50.0 to 70.0 centimetres of space between 2 supports. If you want to store heavy materials on the shelf, you may need to use more supports.
How do you attach a shelf to the wall?
You attach a shelf to the wall using shelf supports. These come in many shapes and sizes. You can choose a classic shelf support that supports the shelf from below. But these days there are many other options, such as leather shelf supports or systems for mounting your shelves blind. If you want to hang several shelves, you can also choose a support system with rails and so-called f-supports.
Before mounting the shelf support, mark it well on the wall. You start by holding the shelf against the wall where you want to attach it. Hold the shelf straight using the spirit level and mark it on the underside.
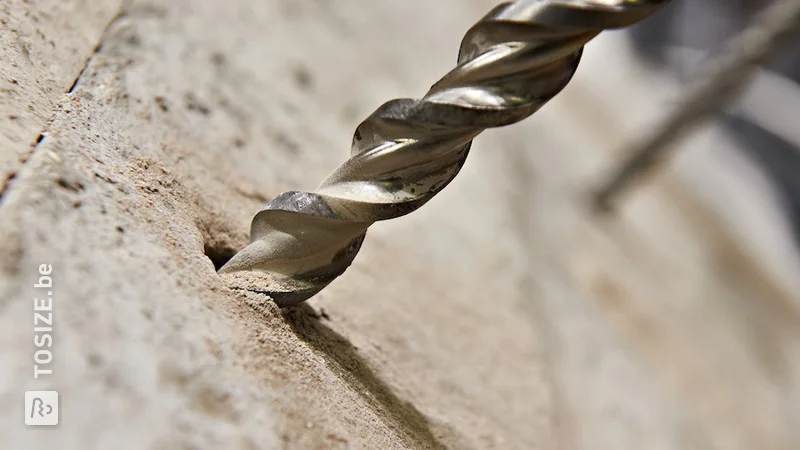
Next, mark off the shelf supports by determining their position in relation to the line you just drew with the shelf. Mark out the drill holes and drill the holes for the dowels.
Make sure you do not drill where there is a water or gas pipe or electricity in the wall.
Are you drilling into tiles, in the bathroom for example? If possible, drill into the joint. If that is not possible, stick tape on the spot where you are going to drill. This will prevent your drill from moving. Then drill a bit deeper than the length of your plug. This is necessary because otherwise you will destroy your beautiful bathroom tiles.
How do you fix a shelf between 2 walls or in a niche?
If you want to fix a shelf between 2 walls, or in a niche, you can of course do it with shelf supports. But, that is generally not very attractive. It is nicer to fix the shelves floating.
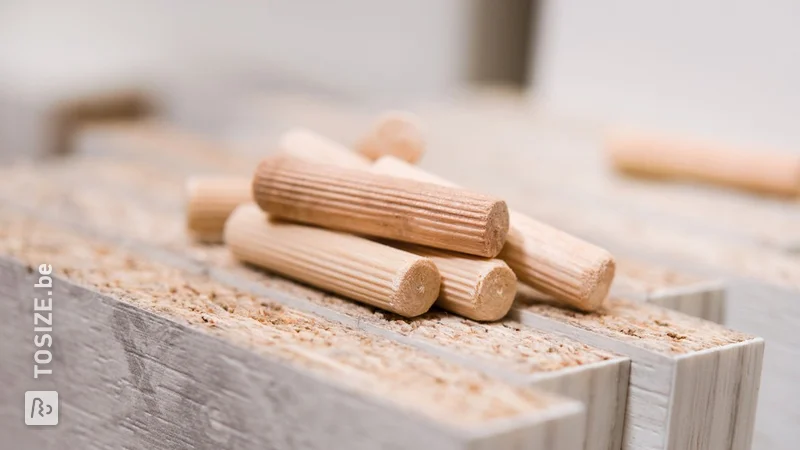
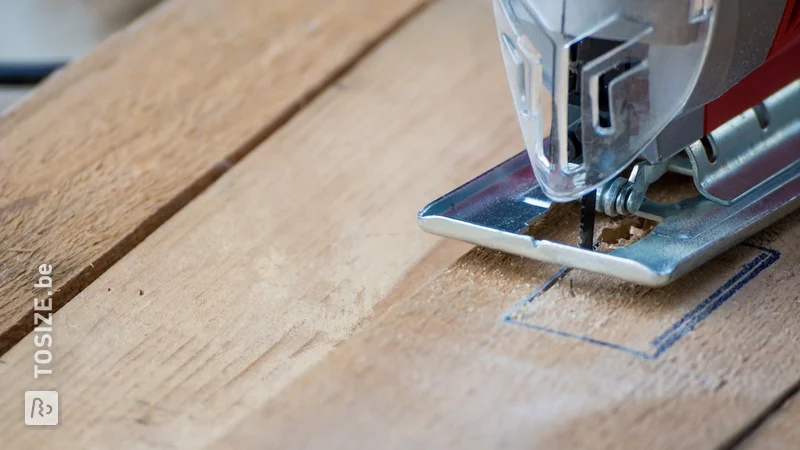
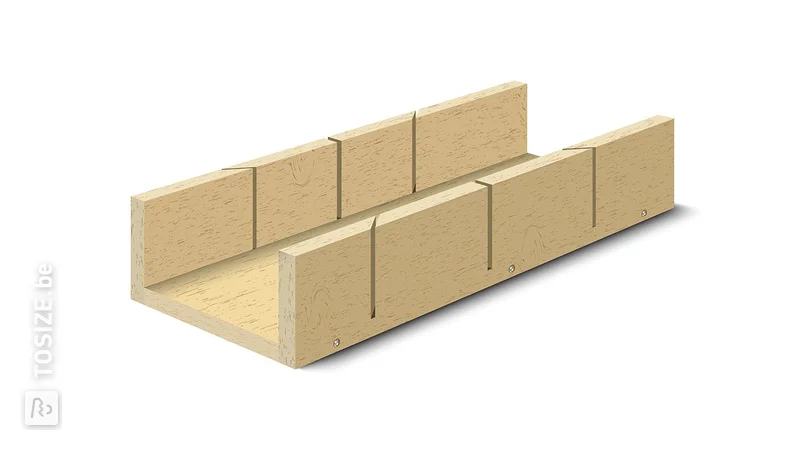
You can do this by milling a groove in the side of the boards. Then mount wooden slats on the wall where the groove fits exactly. Then slide the shelf over it.
Of course, you can also do this if your shelf is only fixed to the wall on one side. On the other side you can still use an ordinary shelf support.
When fitting shelves in a niche, it is important that you measure it as tightly as possible. You want your custom-sawn wood materials to fit exactly between the 2 walls. A niche can be crooked, so measure the distance in several places. Then order your boards 2 or 3 mm smaller, so they will definitely fit in the niche.
What material do you use for made-to-measure shelves?
For your DIY job with shelves, you can use different types of wood. In principle, any material will do, so your personal taste is leading in making your choice.
Among our handymen, we often see the following materials used for shelves:
Plywood
Plywood boards are ideal for shelves. After all, this is a very versatile, but also very strong material. You can order this type of wood in many variants in our webshop. Plywood panels have a natural look, just like solid wood. Plywood consists of several layers of wood veneer. Because the layers are glued together crosswise, a strong panel is created.
Phenolic Plywood
Do you already know phenolic plywood. It consists of plywood with a plastic coating that serves as a top layer. This top layer is on the top and bottom. You still have to treat the edges yourself. Because of the hard epoxy coating, you don't need to treat the large surfaces of this board material. Handyman Chris, for instance, has given his shelving unit given a nice upgrade!
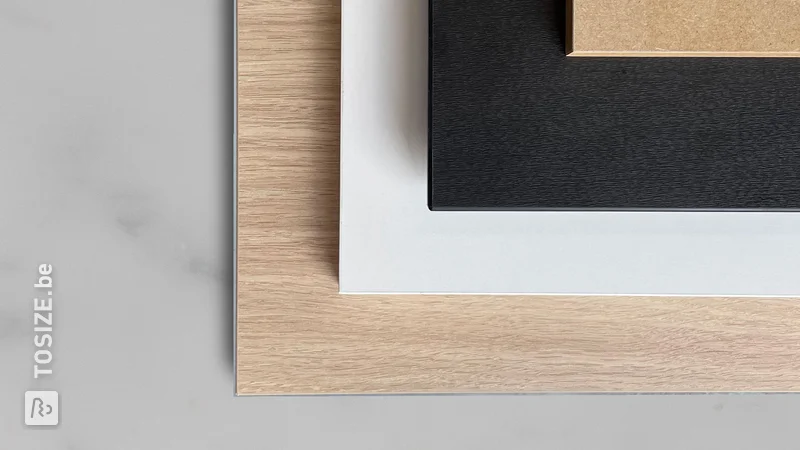
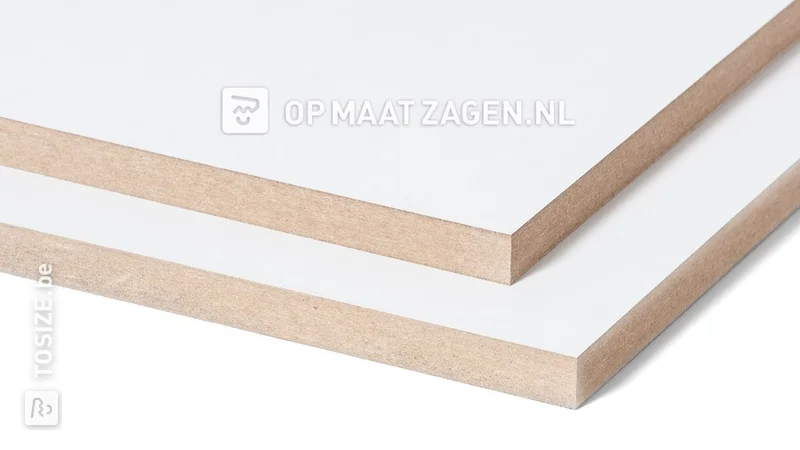
MDF
MDF is one of the most versatile types of board material. It is easy to work with and does not splinter. We have many varieties of MDF in stock for you. For example, you can choose from blank MDF, but also MDF with a lacquer backing, primed MDF or black MDF.
Timber board
Timber and furniture boards is widely used in furniture and interior design. Furniture panel is plasticised chipboard finished with a manufactured top layer. Carpentry panels and solid board consist of solid (glued) elements. Perfect material for shelves.
We supply these panels in many varieties. Think beech, oak, maple or mahogany.
Examples of shelves made by our handymen
To help you with your DIY project, we have listed some inspiring projects of our handymen below. Take advantage of them when making your shelves.
Shelves in the barn
Pepijn chose some nice plywood boards to create storage space in the shed. He attached them with sturdy shelf supports, so they can support quite a bit of weight.
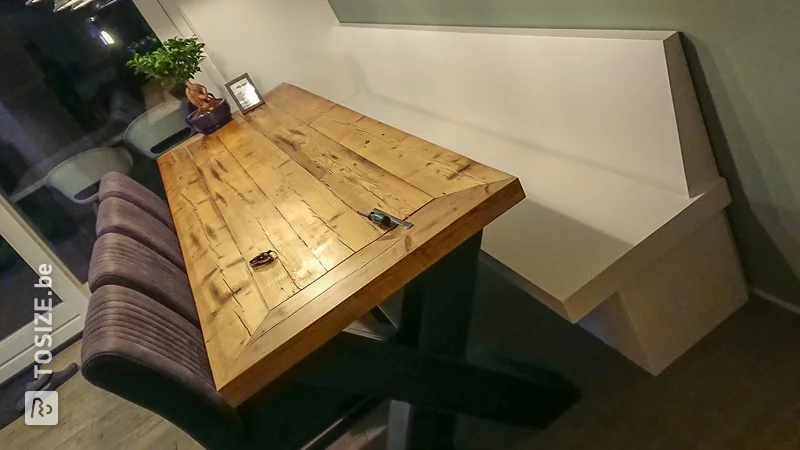
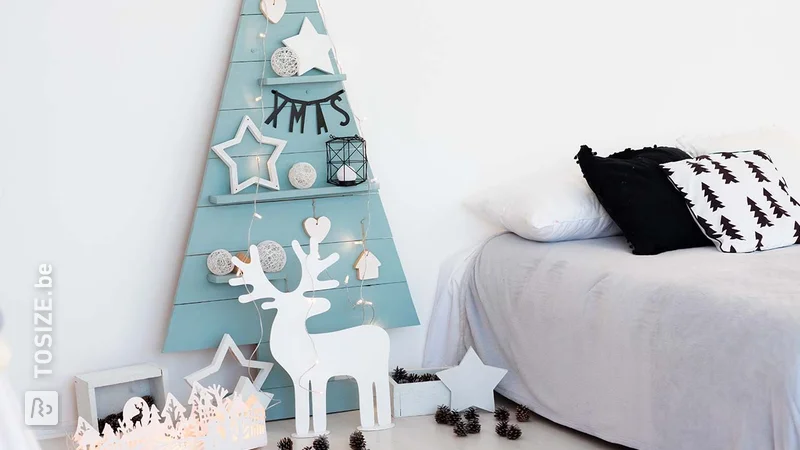
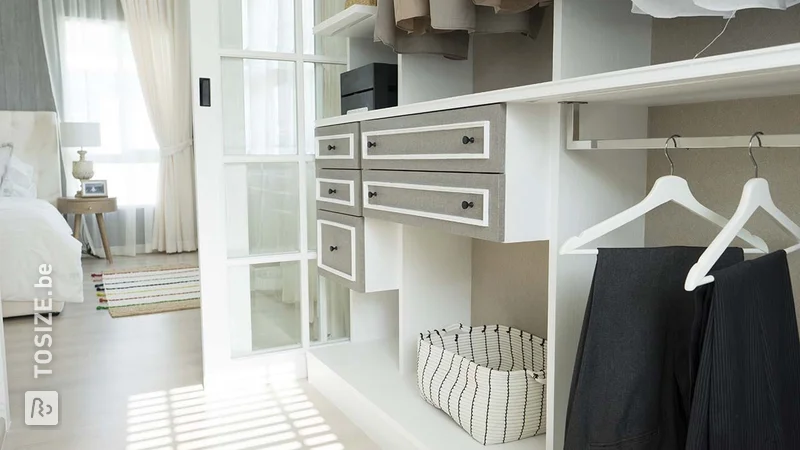
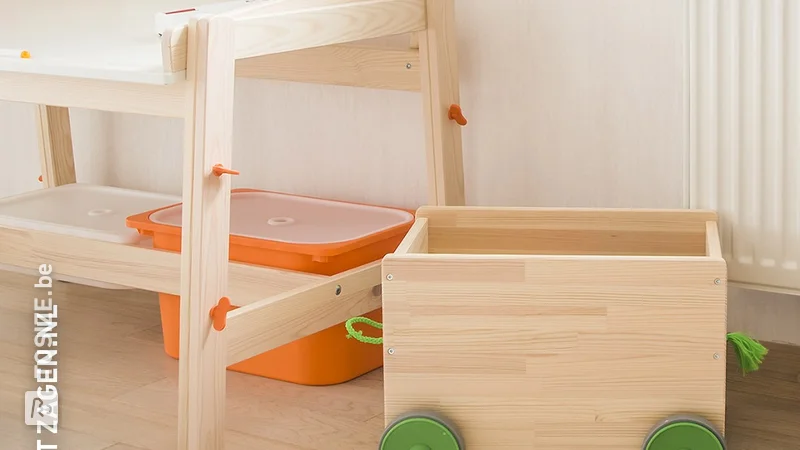
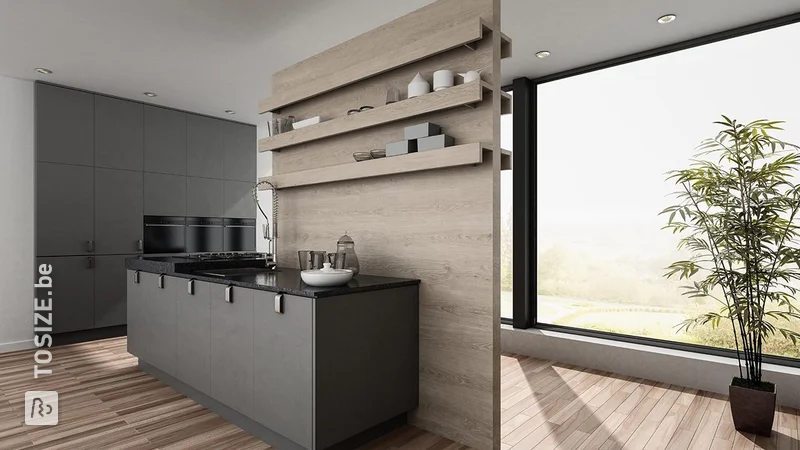
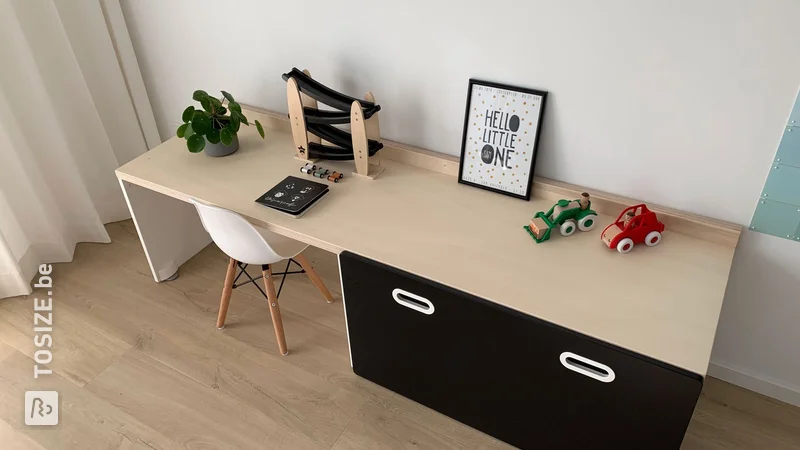
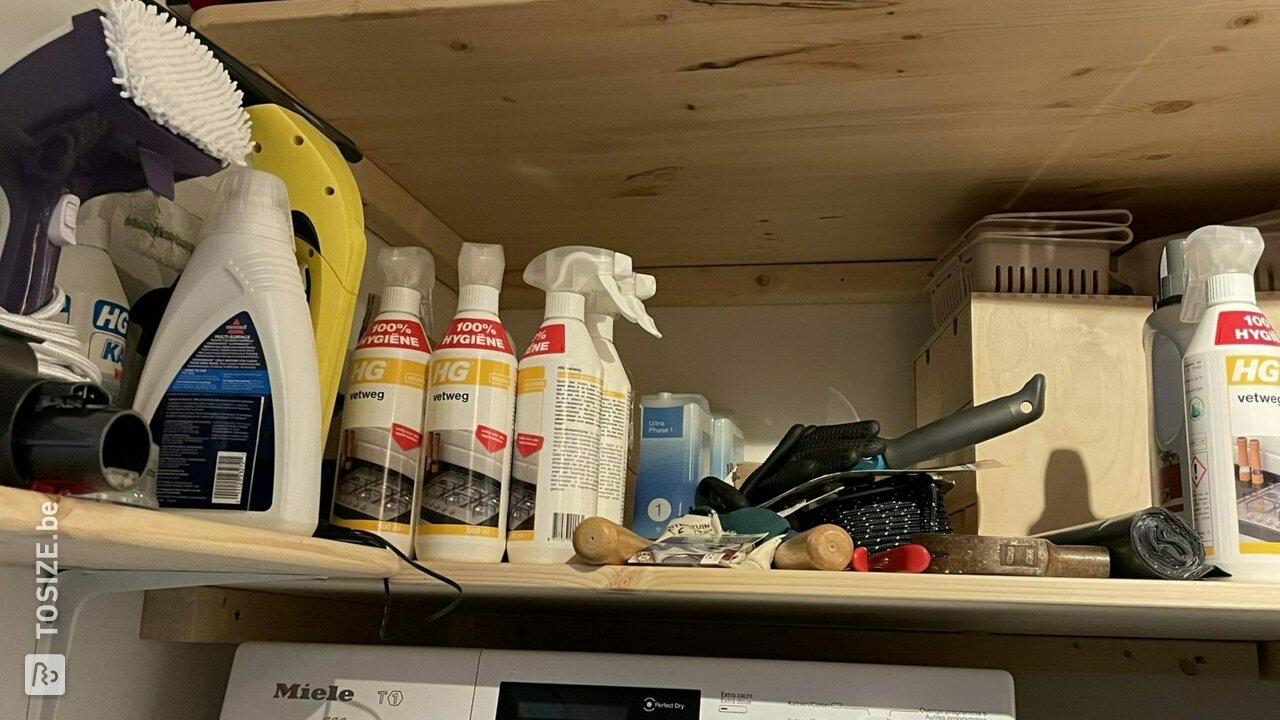
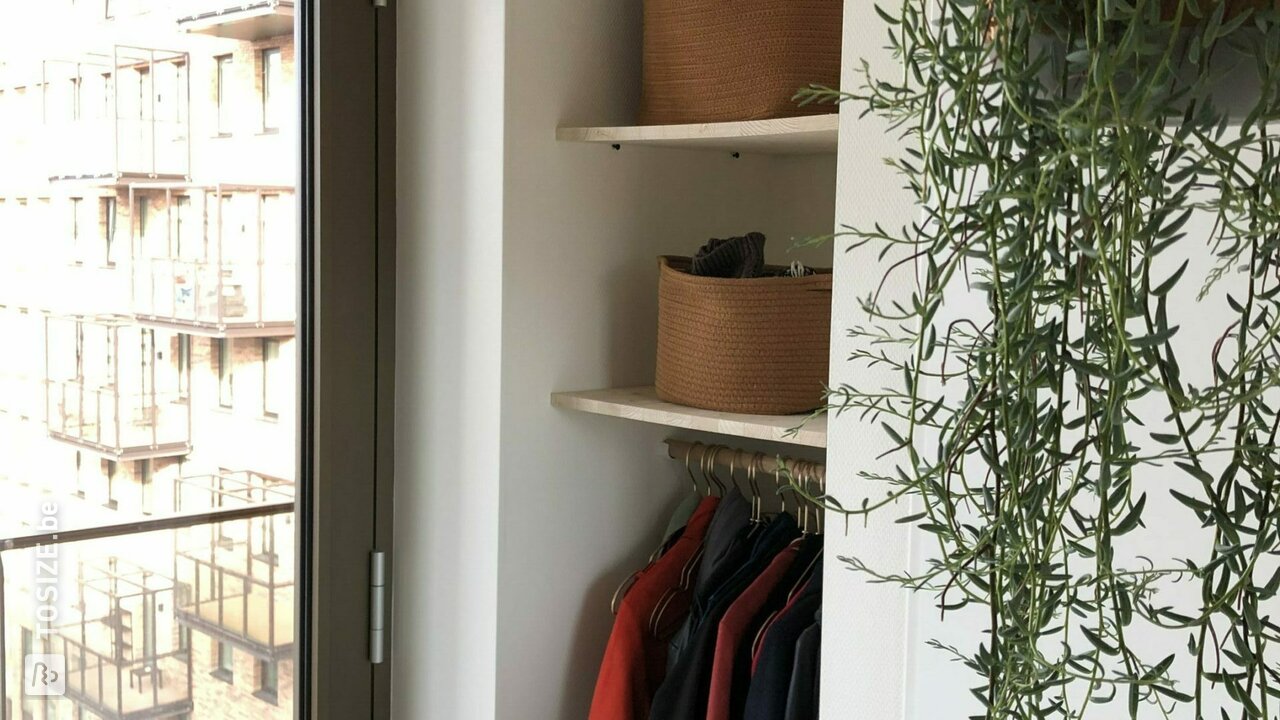
Decorated spruce boards
With pine carpentry panels, handyman Hanneke created extra storage space in an alcove and in her bedroom. She found it convenient that the materials were delivered to her home by TOSIZE.be, so she didn't have to transport it herself.
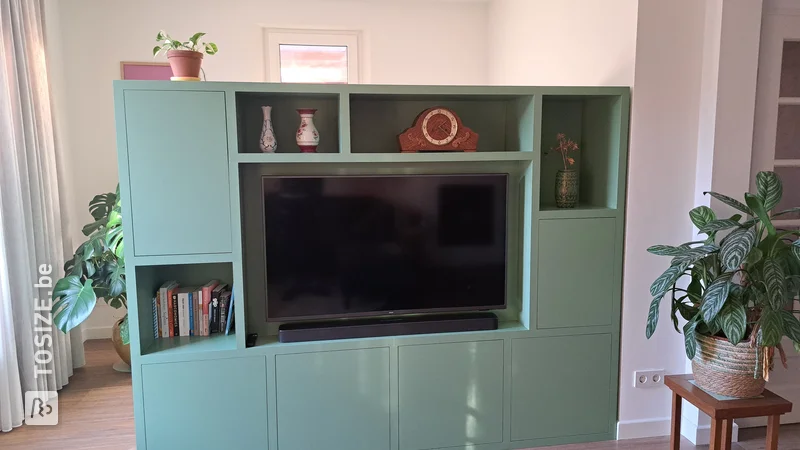
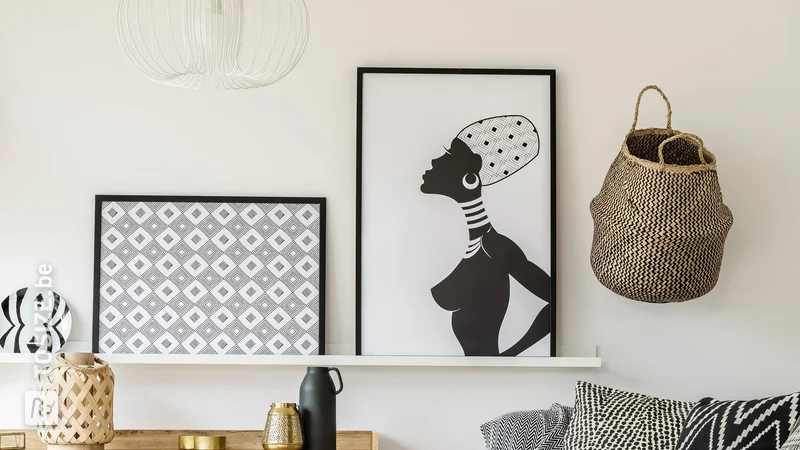
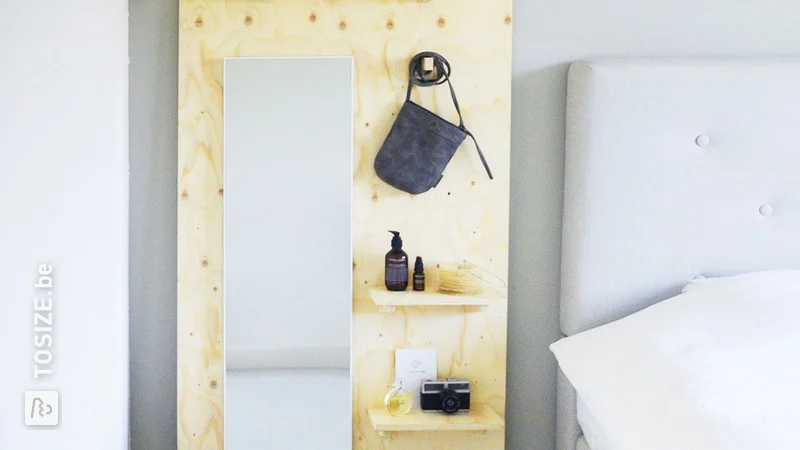
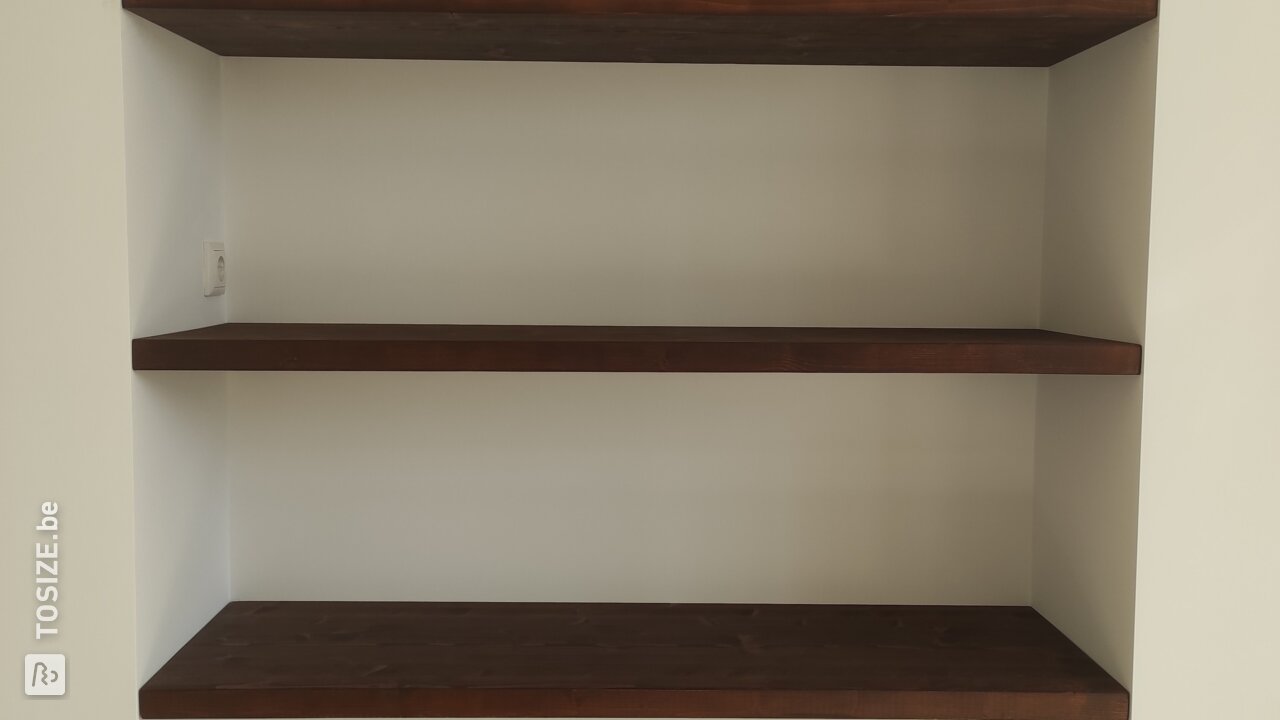
Shelves in a recess in the living room
Handyman Wes needed shelves for a niche. According to him, "you can also order recess boards ready-made elsewhere, only it costs € 500 more." With a router from Lidl, he set to work and the result is definitely worth it!
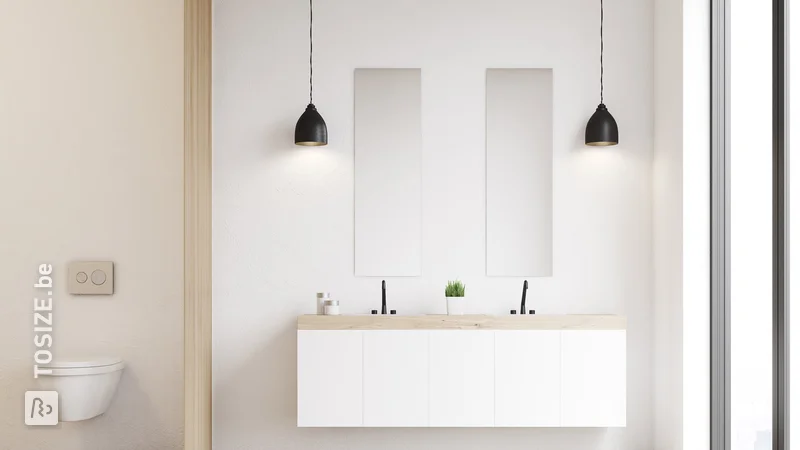
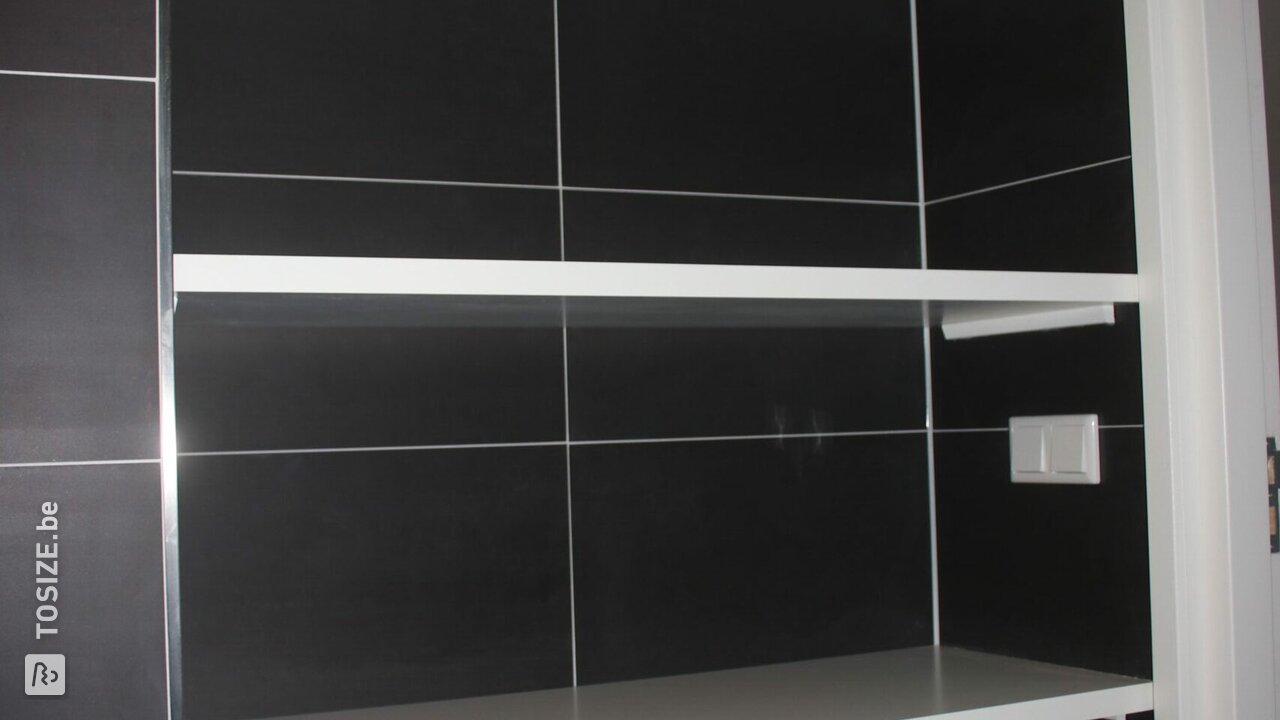
Towel shelves in a niche in the bathroom
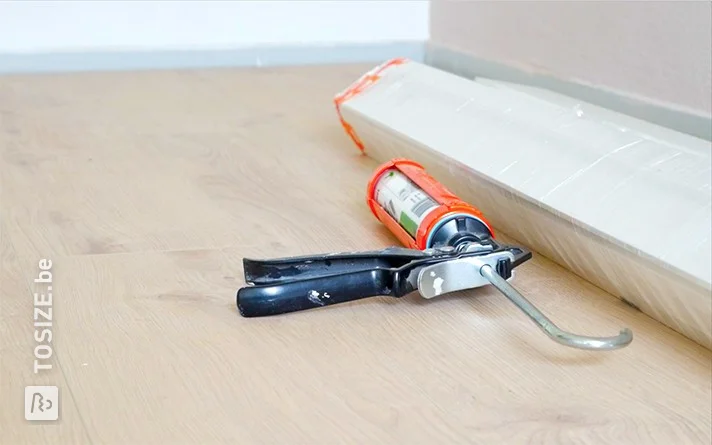
Water-resistant MDF is a great material to use in the bathroom. Handyman Wendy discovered that the recess in her bathroom was a little crooked, so she had to trim the planks a little more. Using assembly glue, she mounted shelves on which the robust boards rest.
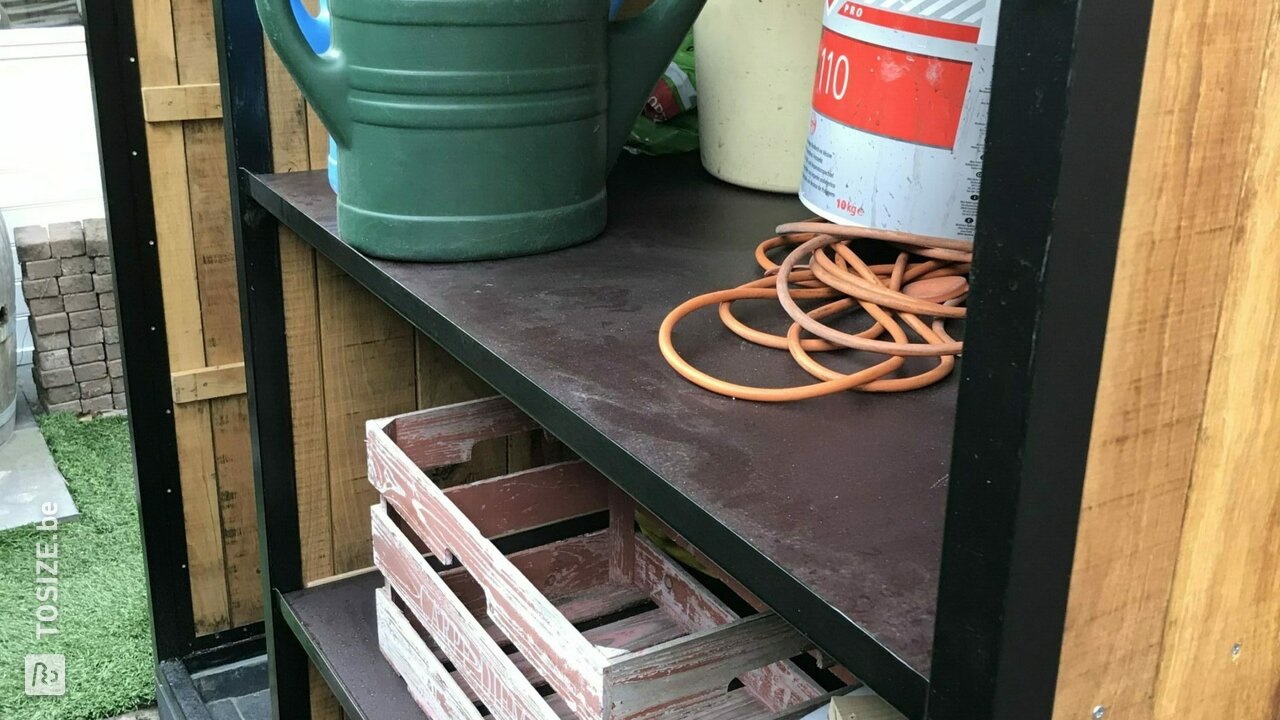
Shelves for garden tools
That phenolic plywood is a great material, handyman Ben also knows. He used it in his cottage for garden tools. He finished the cut edges with boat varnish so that they can withstand the weather even longer. Beautiful garden house!
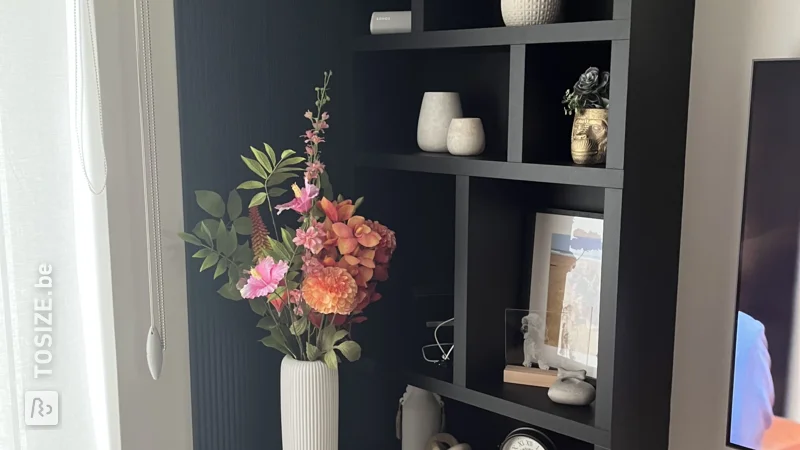
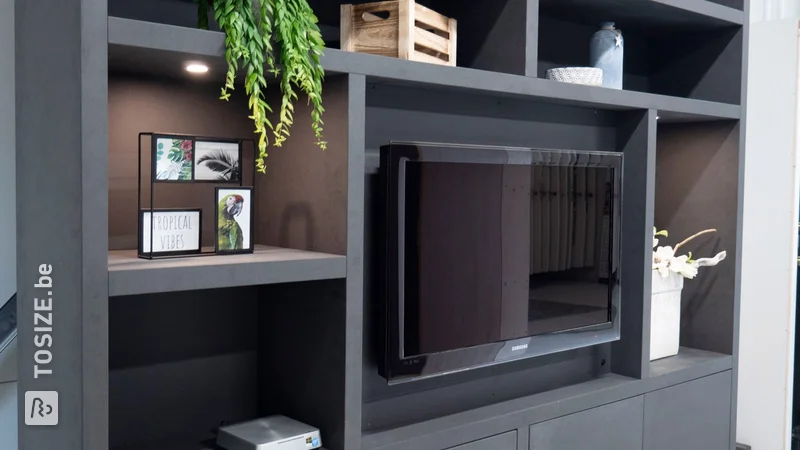
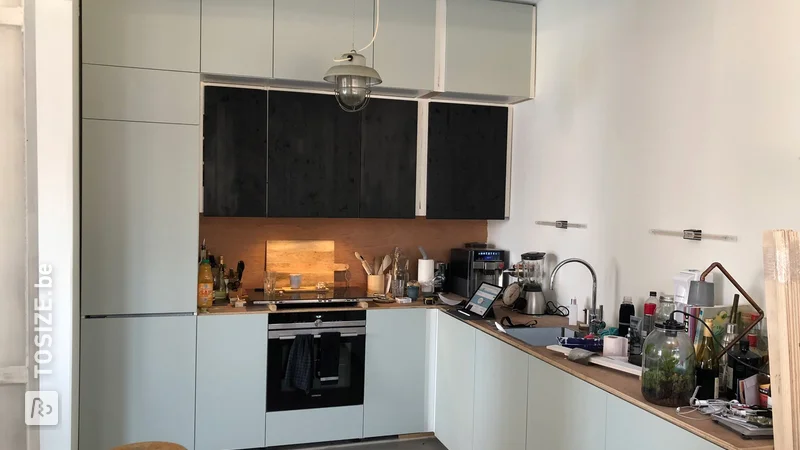
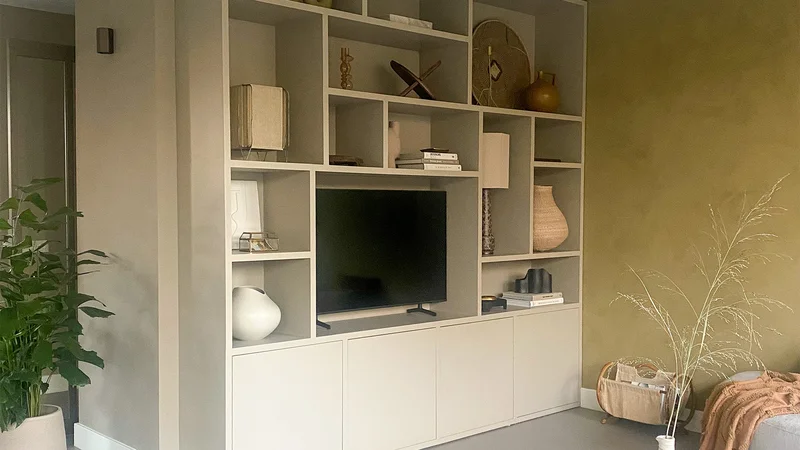
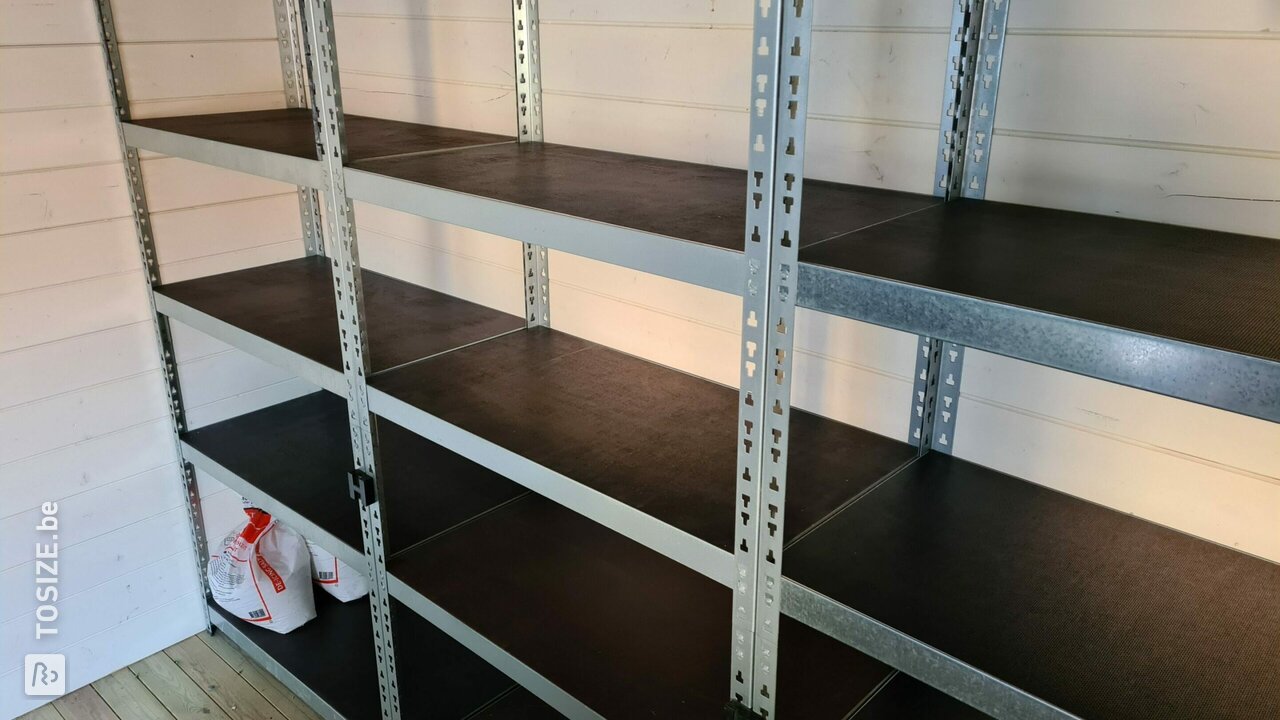
Shelves in shelving unit
Chris had a shelving unit with old chipboard shelves that were warped. He ordered phenolic plywood shelves from TOSIZE.be. This made his shelving unit a lot nicer, but also a lot sturdier.
Shelves for storage cupboard
Rob had a similar problem to Chris above. The chipboard in his shelving unit was starting to collapse and crumble at the sides. So he ordered precisely cut Okoumé plywood Waterproof for his shelving unit. As he himself says: "Actually too nice for a garage." A very nice result!
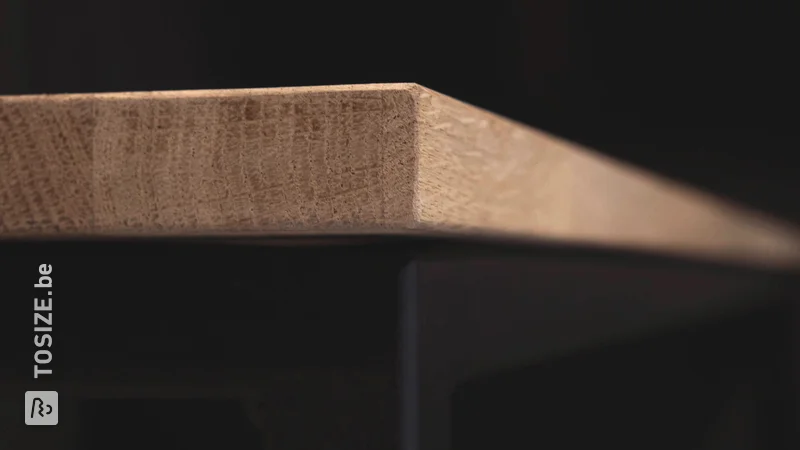
Attic cupboard with shelves
Phenolic plywood Birch Black is very nice material for cupboard shelves. You can see that in this project where an attic cupboard was created in an alcove. This handyman had us bevel the shelves, which gives a very nice effect!
Getting started with your own shelves
In this article, we have explained to you how to make shelves yourself. Hopefully, we have inspired you to make a nice job of it.
In any case, we are happy to help you with perfectly cut materials for your project. Make it easy for yourself by adding all materials, in the right size, to your shopping basket right away.
Have fun making your shelves!