Making your own partition wall
A room divider is ideal for dividing a room or screening off something. With a little creativity, you can make it a beautiful and practical addition to your interior. But how do you make a room divider yourself? In this article, we explain how to do it.
In this article:
- How to make your own partition?
- What items do you need to make a cut-to-size partition?
- How do you make a drawing or sketch for a partition wall?
- Fixing a partition wall
- What wood do you use for a cut-to-size partition?
- How do you connect the sheet materials in the partition wall?
- Examples of our handymen
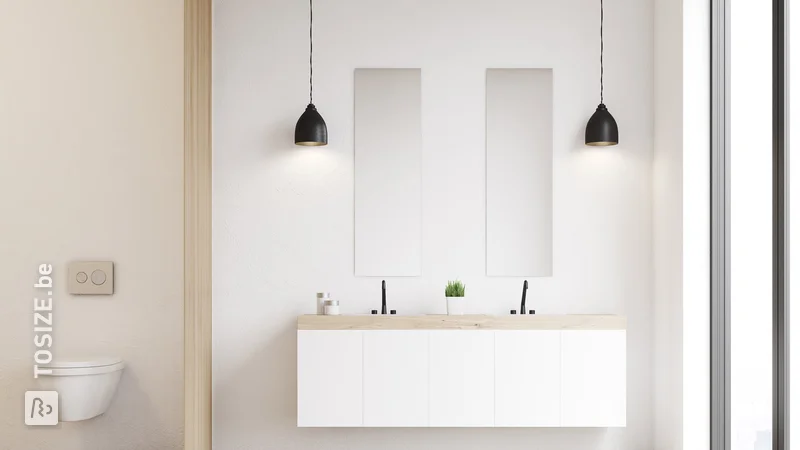
- Partition wall in bathroom
- Partition wall with doors
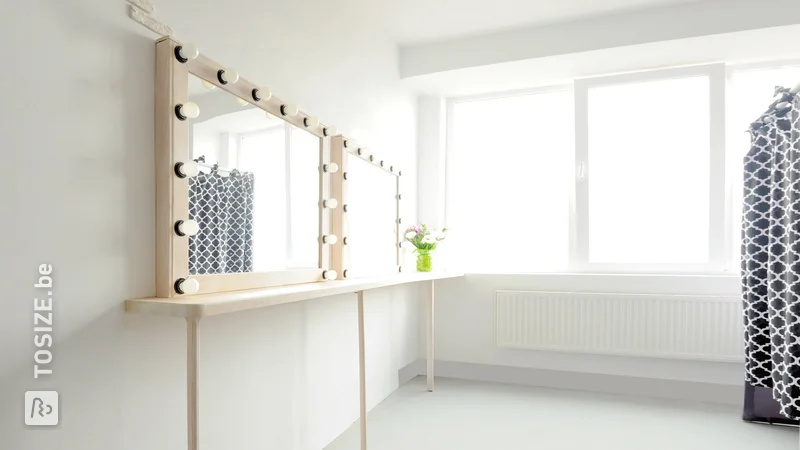
- Room divider with bedside lamps
- Partition of existing cupboards
- Modern flower box as a partition wall
- Playful cabinet in existing opening
- Partition wall made of MDF
- Partition wall for boiler in bathroom
- Construction of MDF with pallet timber
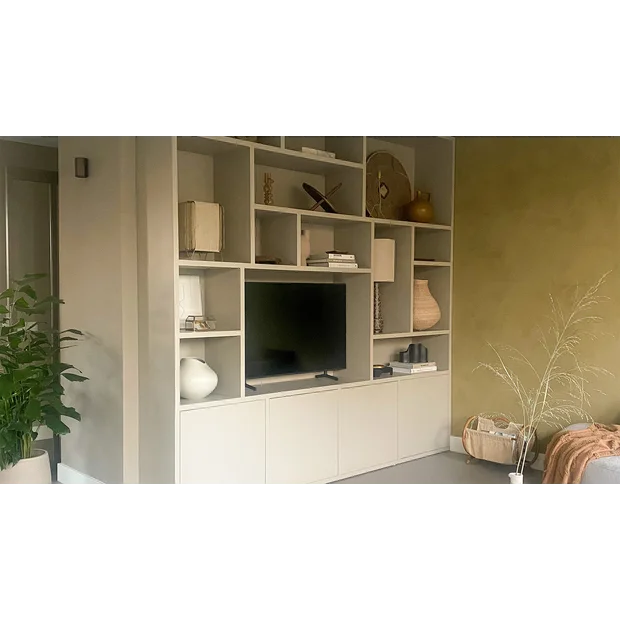
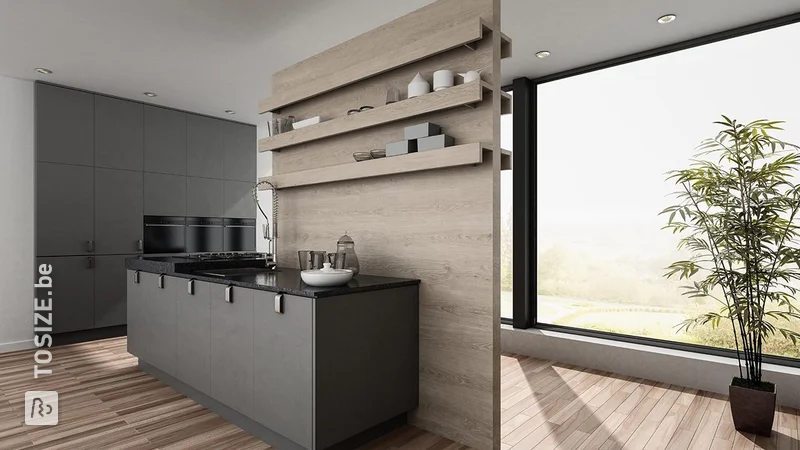
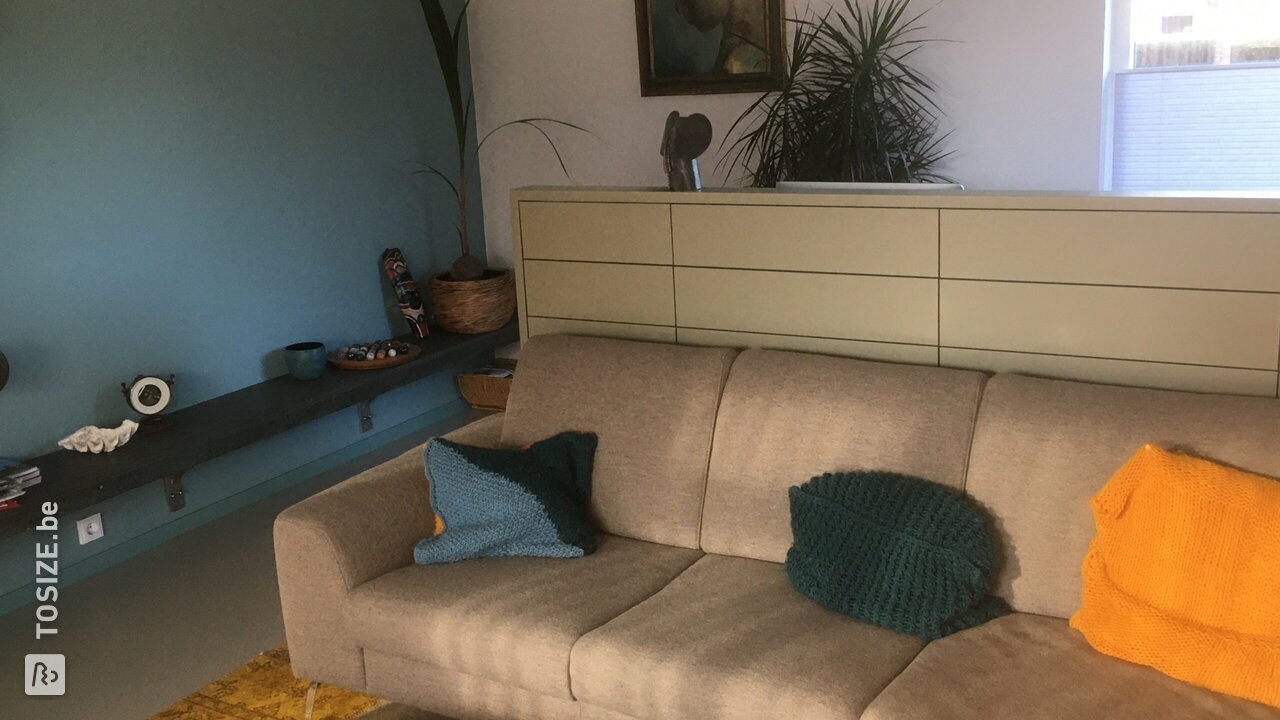
- Room divider, kitchen unit and cupboard
- Room divider, bookcase and ottoman
- Partition wall around a piano
- Bookcase with bookcase
- Get started with your cut-to-size partition wall
How to Make Your Own Partition Wall
A partition wall, or room divider, is a common feature in many households. It is an ideal way to divide a large space, create storage, or achieve more privacy. You can also use a partition wall to hide something you’d rather not see, such as a boiler.
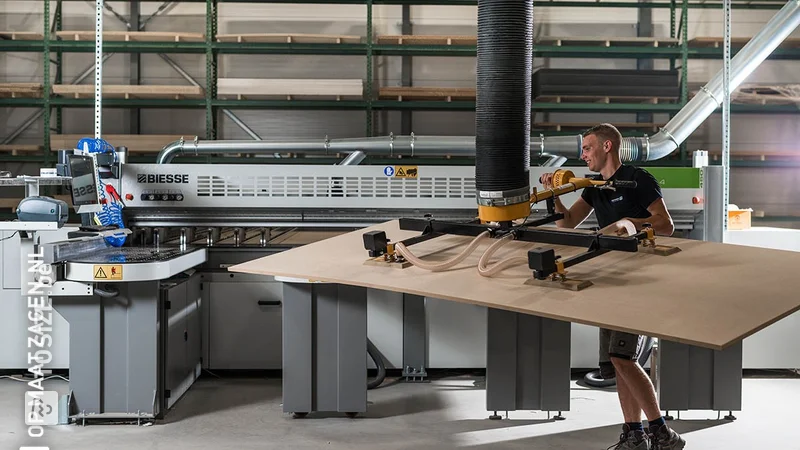
You can easily order the wood for your partition wall from TOSIZE.be. We offer a wide range of different types of wood. We cut it to the exact millimeter for you and deliver it quickly to your home. This way, you don’t have to worry about crooked cuts and can focus entirely on assembling your own partition wall.
In this article, we’ll tell you what to keep in mind when making a partition wall and share inspiration from our DIY enthusiasts.
What Materials Do You Need to Make a Custom Partition Wall?
To make a partition wall, you need various materials. Generally, you should consider the following materials:
- Graph paper, pencil, eraser, ruler: for an accurate sketch of the wall
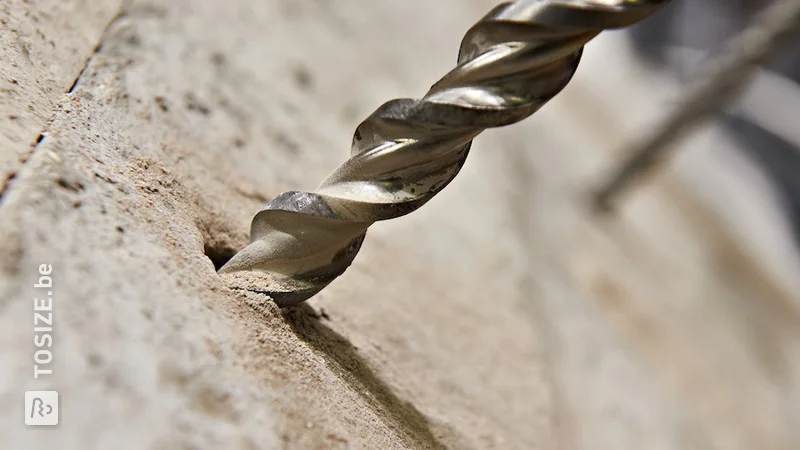
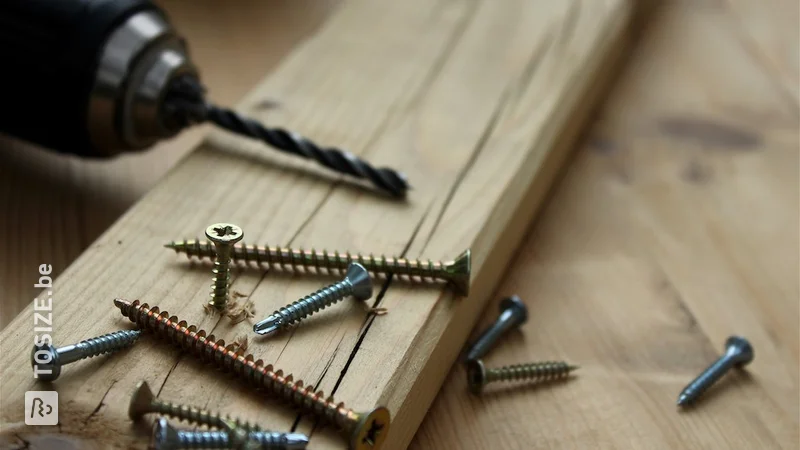
- Cordless drill: to easily pre-drill holes and drive screws into your material
- Wood glue and possibly dowels: may be needed to firmly glue various parts of the partition wall together
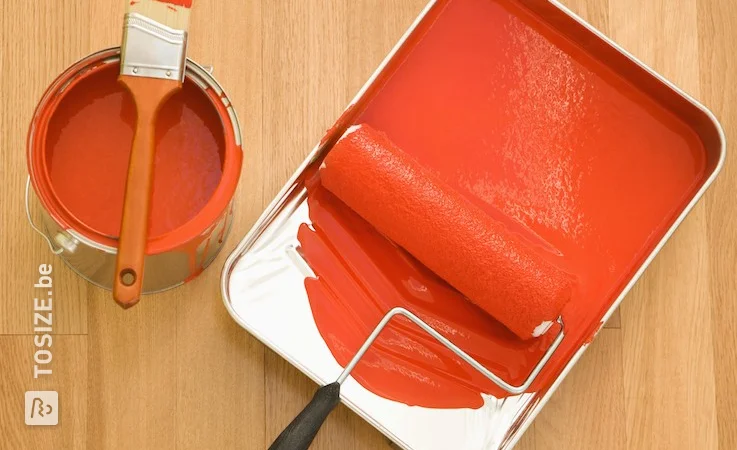
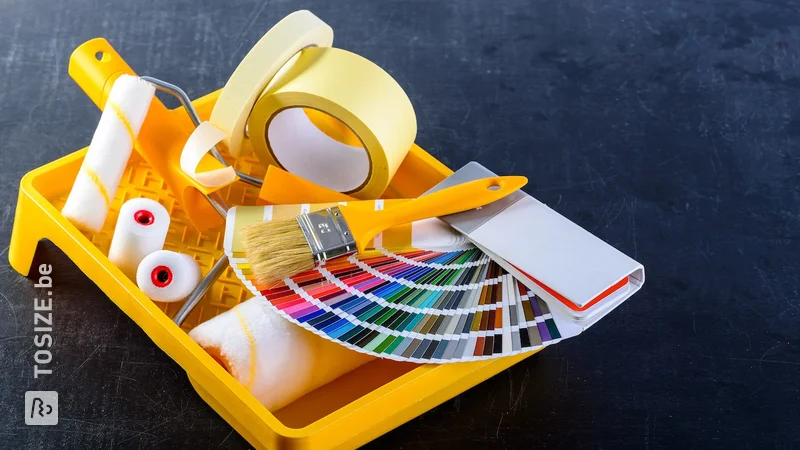
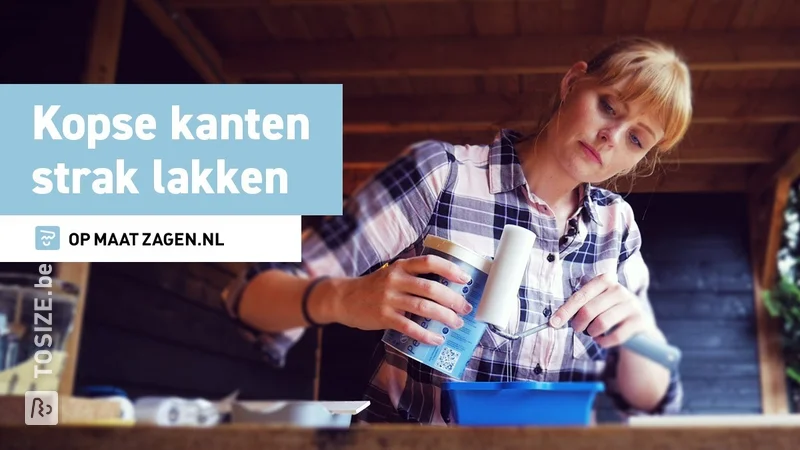
- Primer and varnish: almost all the wood from TOSIZE.be still needs finishing - first priming, then varnishing
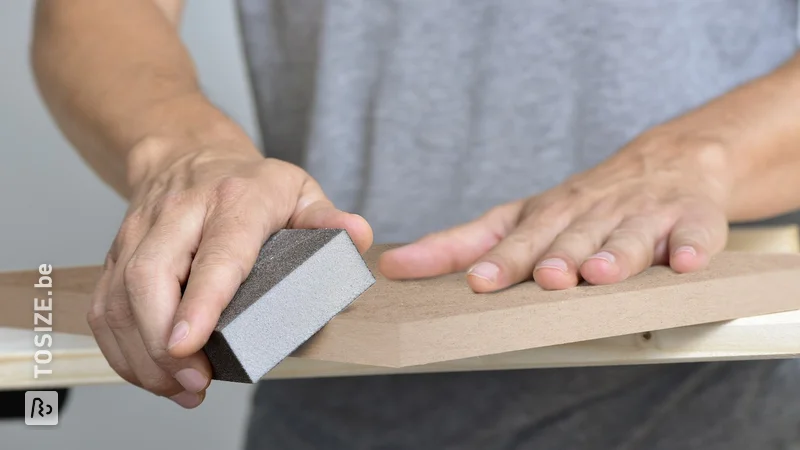
- Sandpaper: always handy to have on hand, with a coarse or fine grit
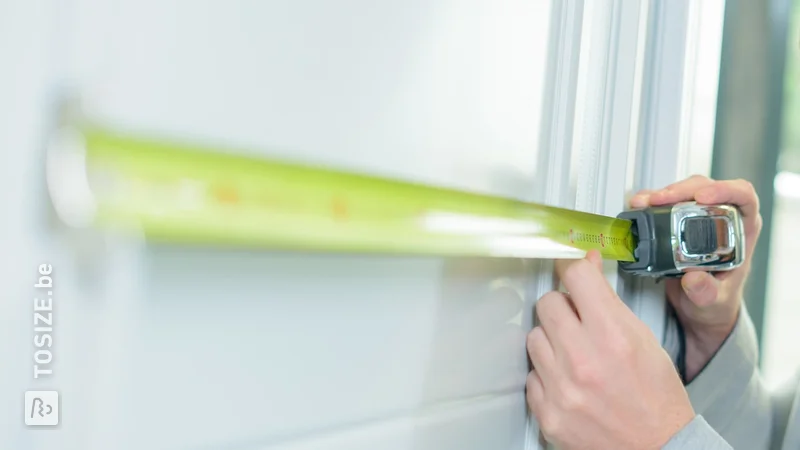
- Tape measure: needed to measure and mark your wood
- Spirit level: to ensure the partition wall is level
- Screws: to connect the various wooden materials together
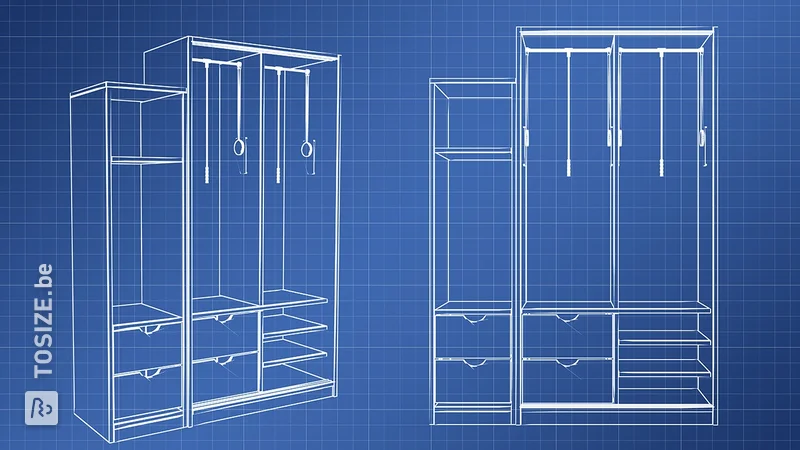
How to Make a Drawing or Sketch for a Partition Wall?
Before you start working on your partition wall, you need to make a sketch or drawing. By sketching your idea, you force yourself to think carefully about every element. What will your partition wall look like? Does the wall need certain functionalities, such as doors? Will the wall be completely open, fully closed, or open on one side? How will you shape the structure?
Once you know what the room divider should look like, you can start drawing it in detail. In the drawing, provide an accurate overview of all dimensions and the required materials. With that overview, you can order all the wood precisely cut to size from TOSIZE.be.
A handy tip is to tape the outer dimensions of the partition wall on the floor with painter’s tape. This way, you can see exactly how big the wall will be.
You can make a sketch and drawing on paper, with graph paper, a ruler, a pencil, and an eraser. But you can also use a 3D program such as SketchUp or FreeCAD.
In the sketching phase, it’s also wise to think about how you will assemble the partition wall. Will you use screws, dowels, or corner brackets?
Tip: Assign a unique identifier to each plank (you can specify this in our ordering process), which will save you a lot of puzzling when the wood is delivered to your home!
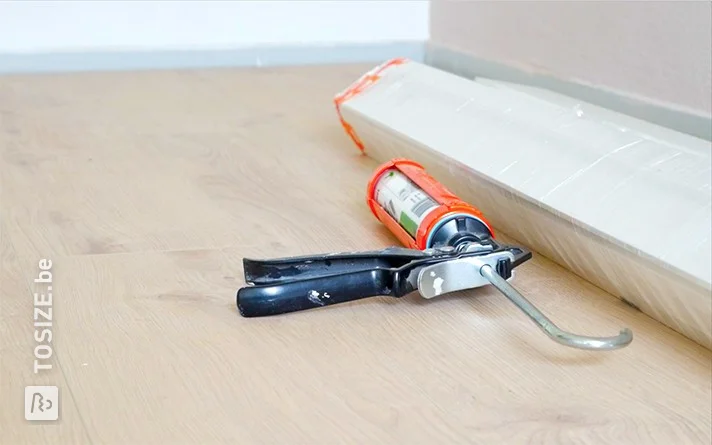
Securing a Partition Wall
Are you making a partition wall that runs from floor to ceiling? Then it’s wise to secure the wall to the ceiling. You can use an adjustable foot for this. You screw it to the top of your structure and then tighten it until it is securely clamped.
You can also secure a partition wall in other ways. For example, by screwing it to a wall or into the floor. For this, you will need a hammer drill, screws, and matching plugs.
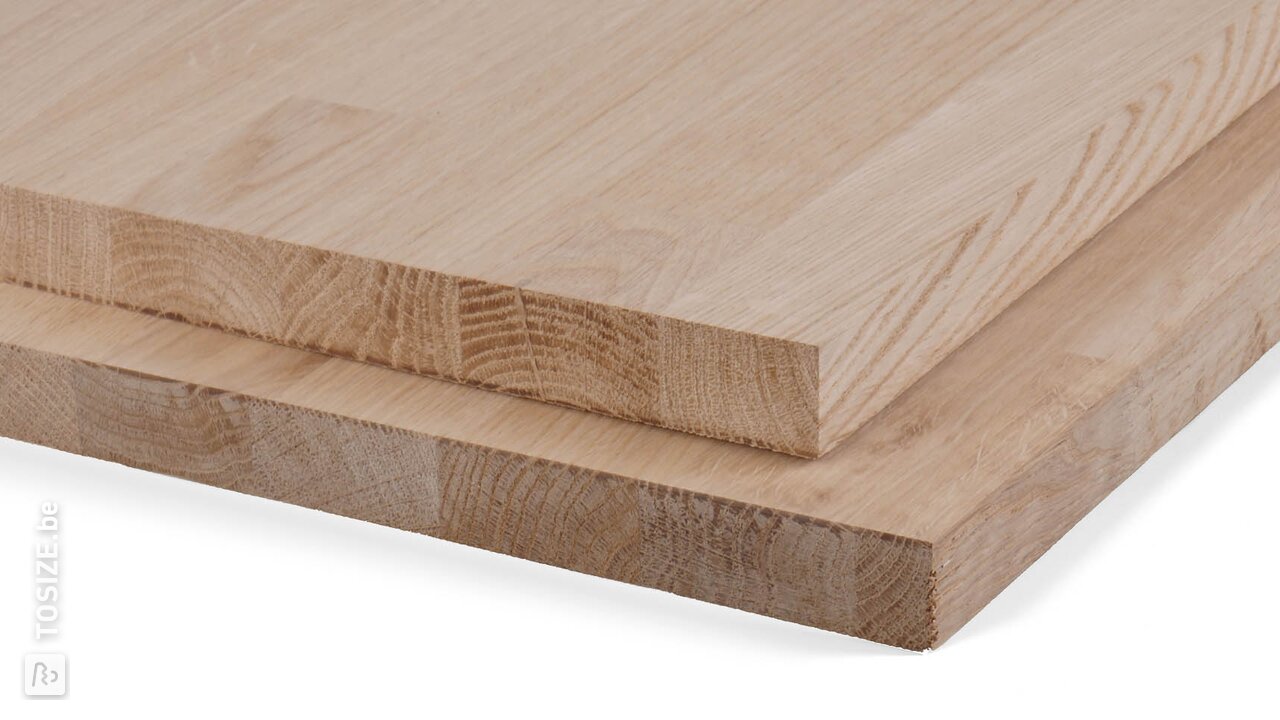
What Wood to Use for a Custom Partition Wall
You can use different types of wood to make a partition wall. We see the following types of wood commonly used in DIY projects by our customers:
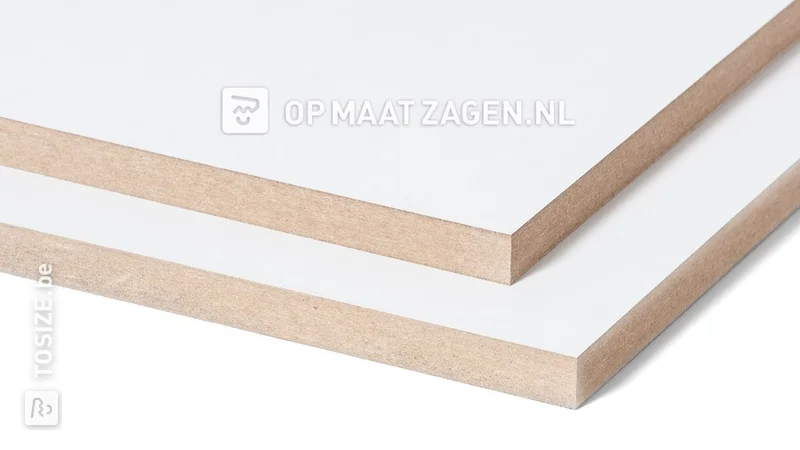
MDF
MDF is a real all-rounder. This board is made of compressed wood fibers and is easy to work with and budget-friendly. MDF comes in many varieties, such as MDF with a melamine film that doesn’t need priming. But there are also moisture-resistant versions if you want to make a partition wall for the bathroom.
![]()
Furniture Panel
Furniture Panel is a logical choice for making a partition wall. It is widely used for furniture. Furniture panel is laminated particle board finished with a manufactured top layer and is available in many variants. Moreover, this board material is easy to clean and maintain, which is useful if your partition wall is in the middle of the room.
How to Connect the Board Materials in the Partition Wall
An important part of making a partition wall is assembling the different wood materials. You can do this in various ways. We discuss four methods here.
Screws
You can simply connect the board materials with screws. First, pre-drill the wood and then finish the holes neatly with wood filler or putty after screwing.
Corner Connections
By using corner brackets or corner connections, you can quickly screw different elements together. Here too, you need to pre-drill the wood. A corner connection cannot be finished, making it a less neat solution.
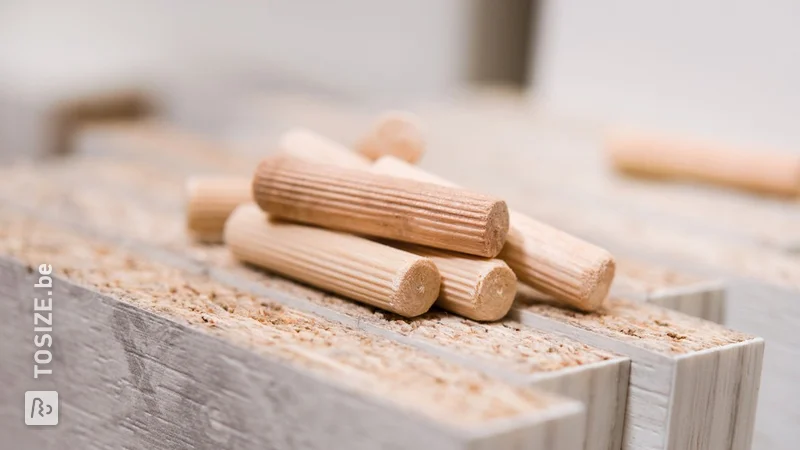
Dowels
With dowels, you can create a strong, invisible connection. Carefully mark the drilling holes. Then drill them with a dowel drill set. Use a bit of wood glue to connect the dowels and the boards.
Lamellos
Lamellos have a larger glue surface than dowels, resulting in an even stronger connection. You will need a milling machine to make the notches for the lamellos in the wood.
Examples from Our DIYers
Need inspiration for your room divider? Want more concrete tips from DIYers who have gone before you? Then check out these DIY projects and make the most of them.
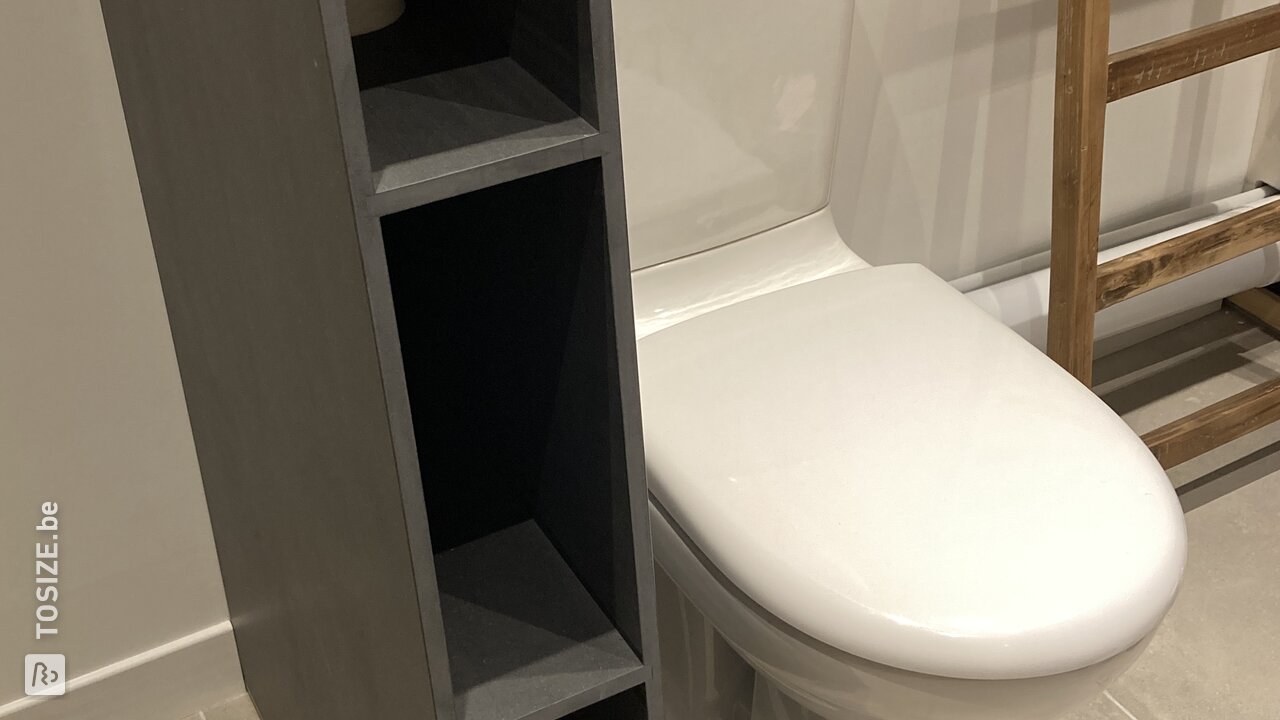
Room Divider in Bathroom
DIYer Baptiste created a beautiful room divider with storage in the bathroom from water-repellent MDF. It looks robust!
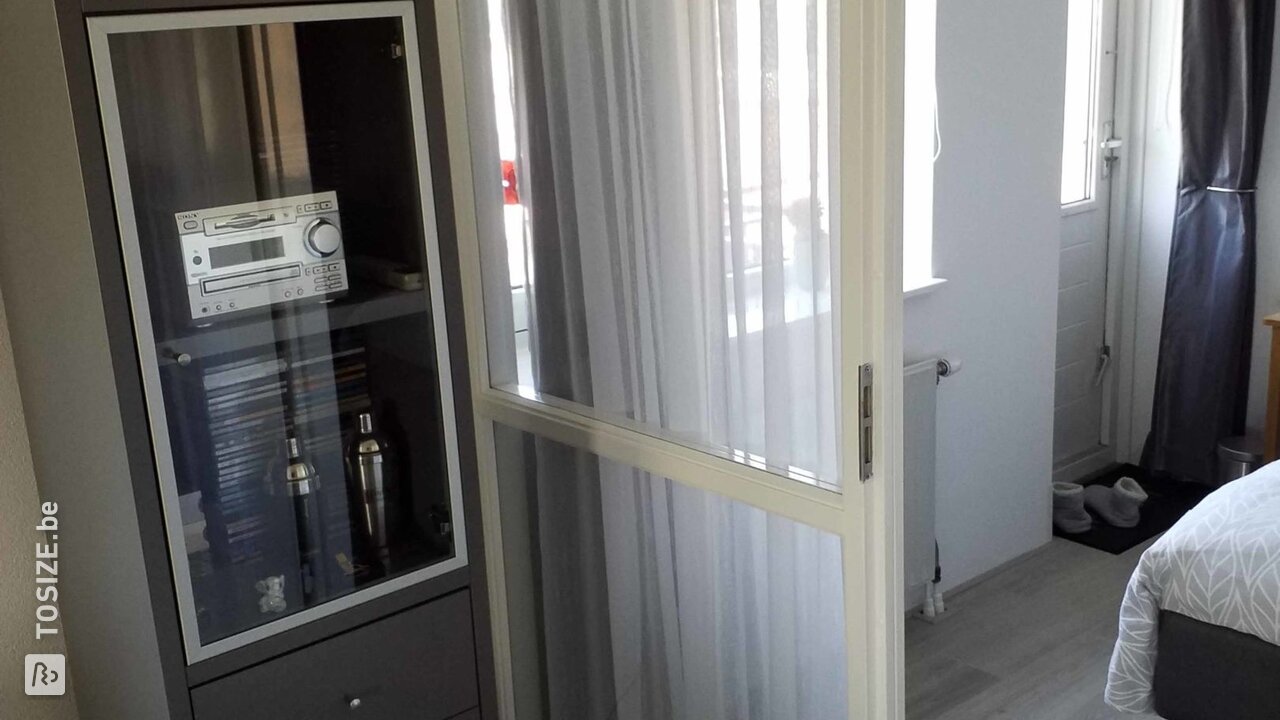
Room Divider with Doors
To create a closed workplace in the living room, DIYer Remmelt made a room divider with inconspicuous doors. Very handy, because various items are stored in this wall, such as a projector and audio equipment. Check out the project for his handy Sketchup drawing too!
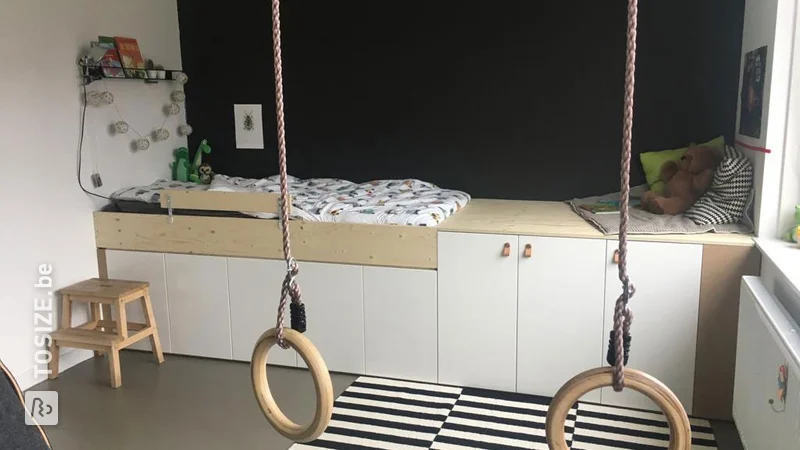
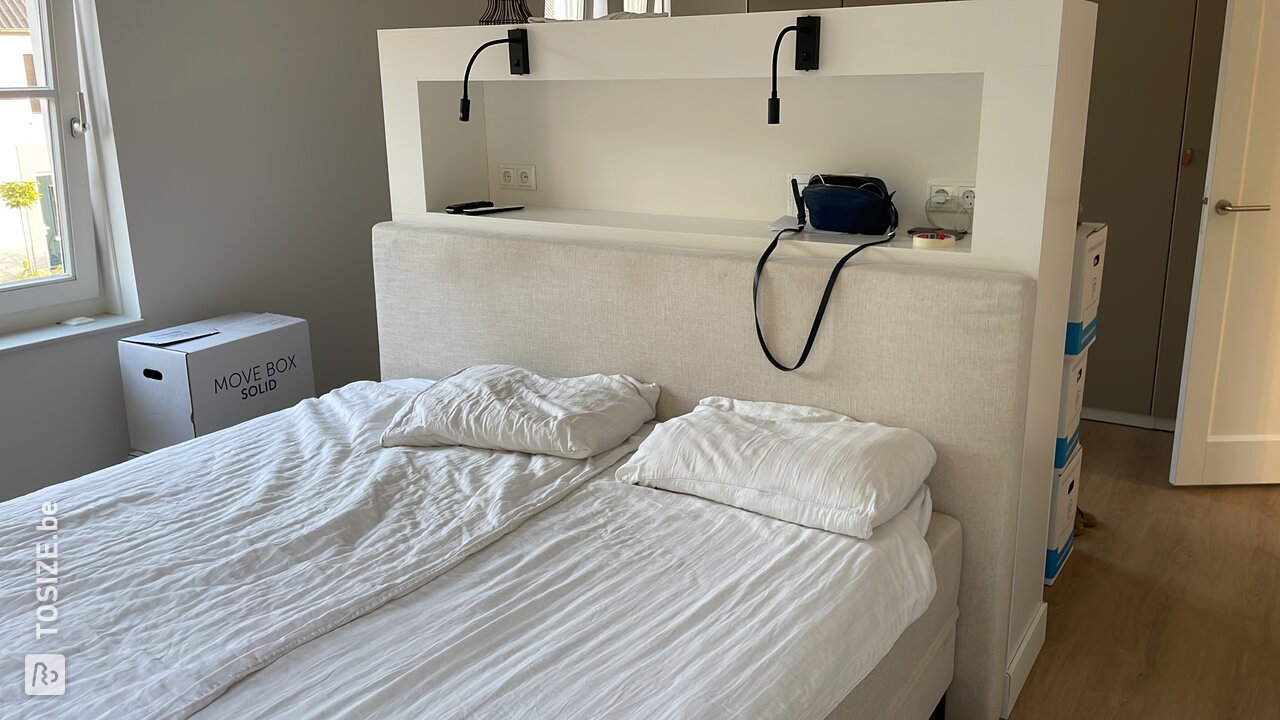
Room Divider with Bed Lamps
DIYer Remko turned his bedroom into a hotel room by building this beautiful room divider in it. He installed electrical connections and bed lamps. It looks beautiful!
Partition Wall from Existing Cabinets
You don't have to make everything yourself for a beautiful room divider. DIYer Simon used two IKEA cabinets to create this partition wall. This way, he instantly created an extra room and a wall with storage space. Smart!
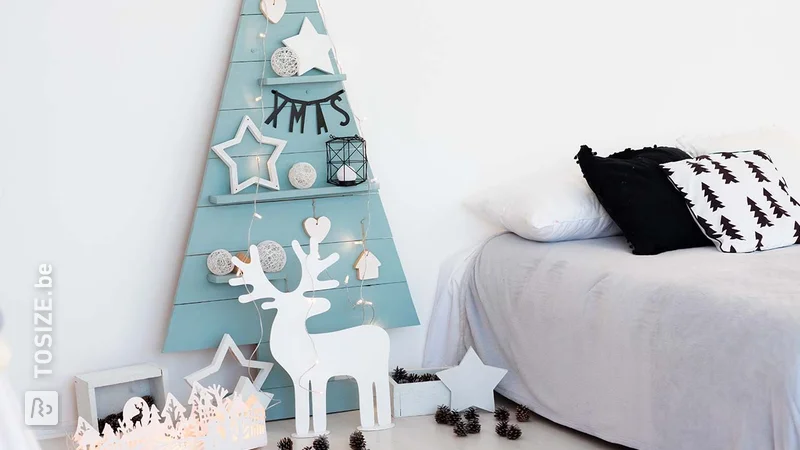
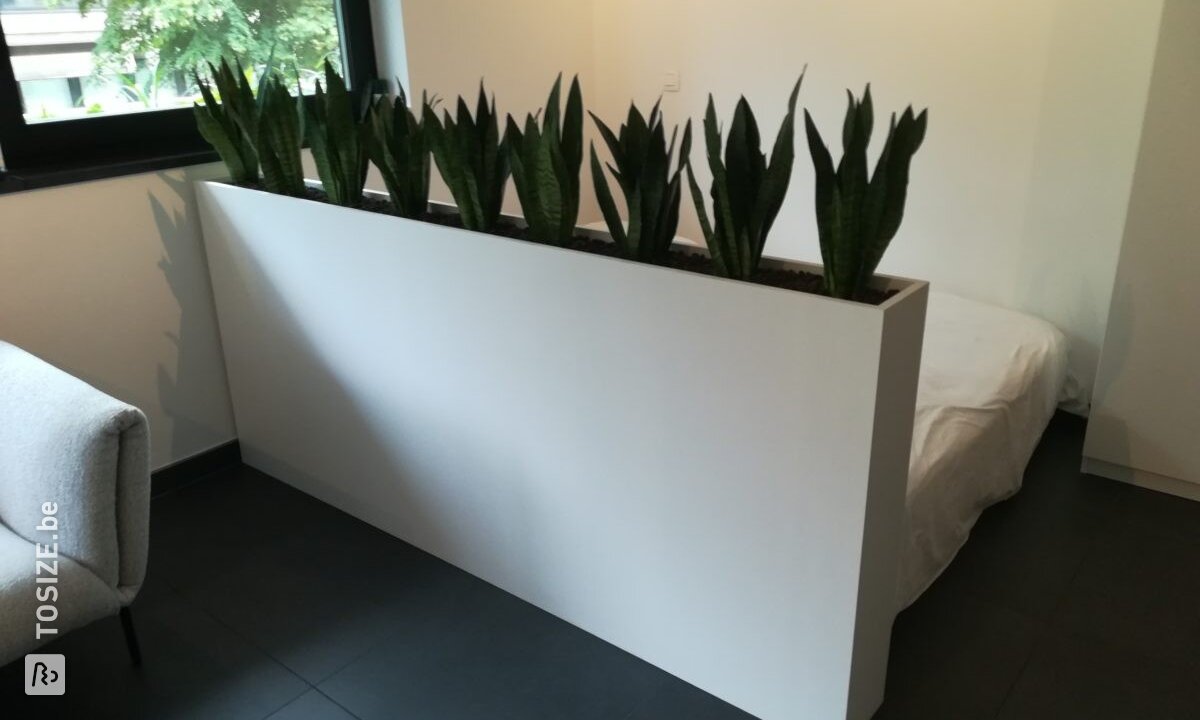
Modern Flower Box as Room Divider
To separate the sleeping and living areas in his studio, DIYer Wout made this modern flower box as a room divider. He used MDF with lacquer carrier foil, which he had cut at an angle by us. The whole looks beautiful!
Playful Cabinet in Existing Opening
DIYer Jan Willem made this playful, open cabinet in an existing opening. He used oak timber panel and fastened it with dominos (a type of dowel). It does indeed look playful!
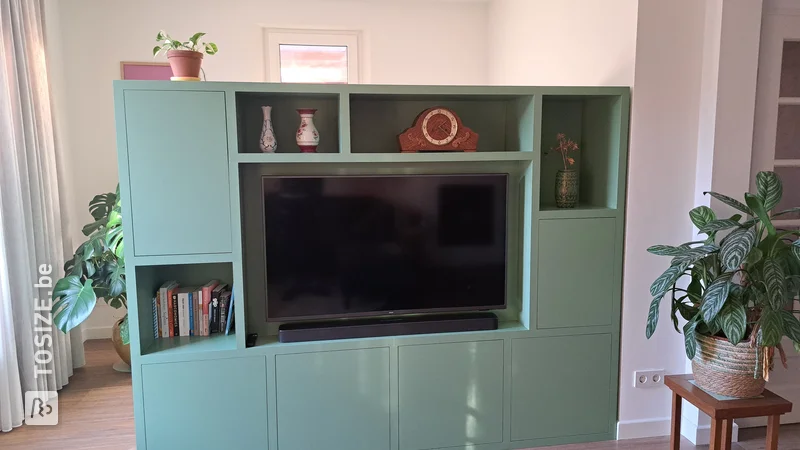
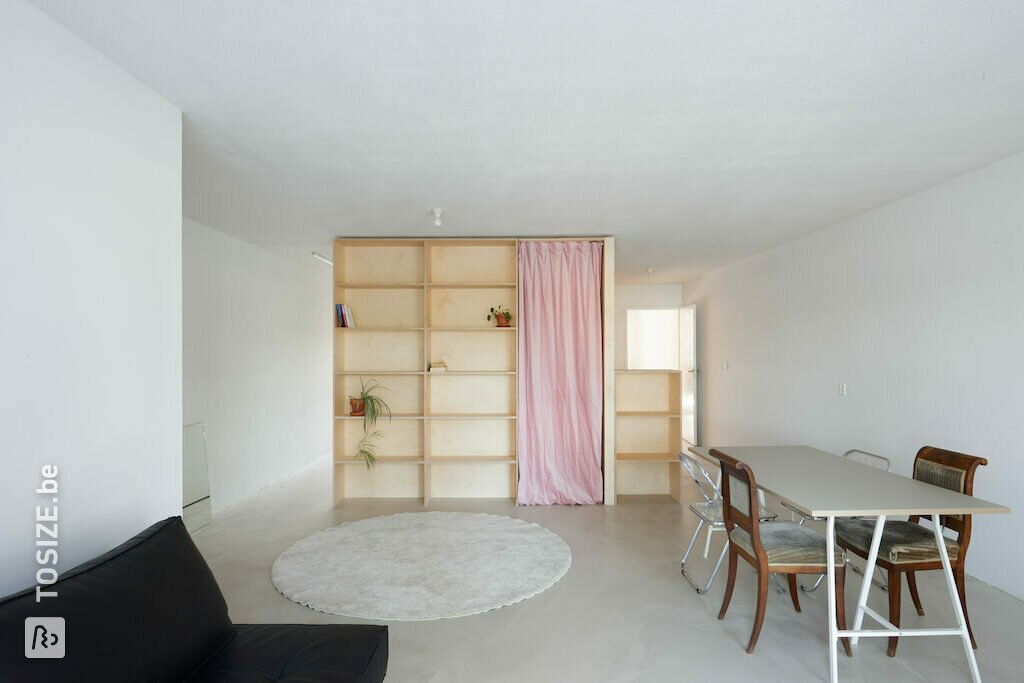
Room/Separation Wall from MDF
How simple can it be? Order two large, custom-cut MDF sheets and glue them to an existing framework. DIYers Siem and Marina did this in this project. This way, they eliminate the view from the living room to the bedroom.
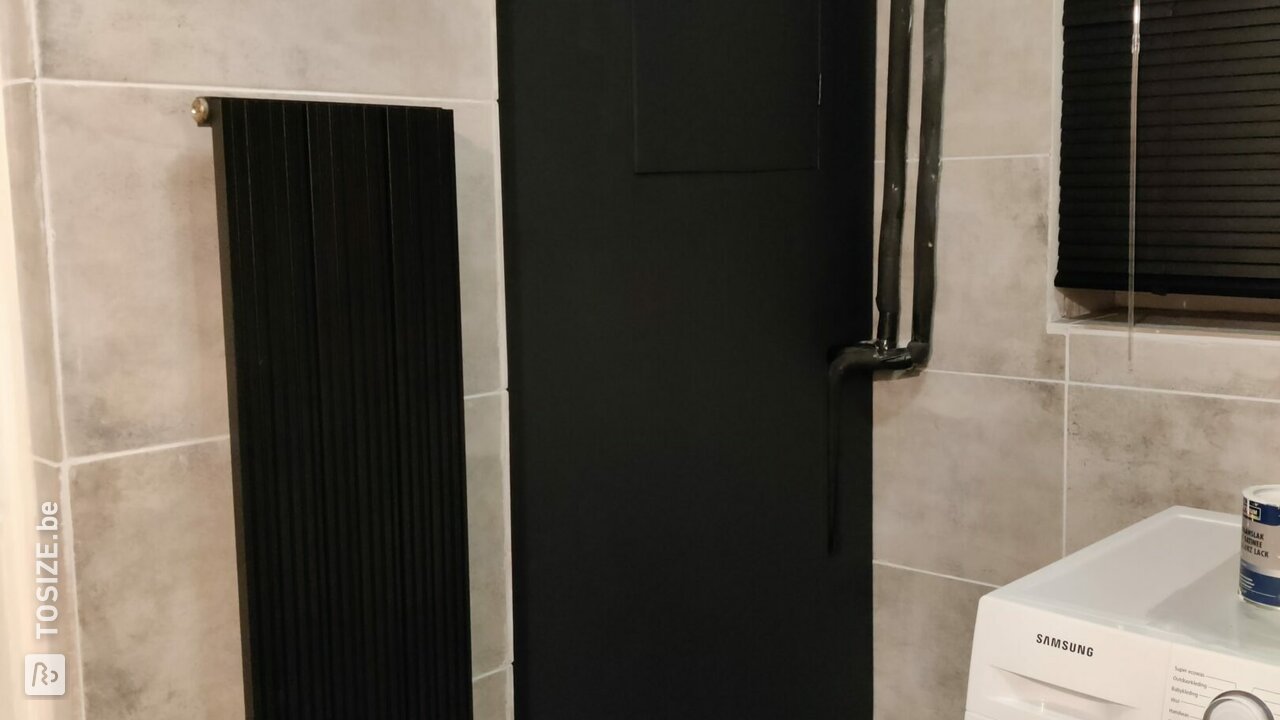
Room Divider for Boiler in Bathroom
A boiler in your bathroom is not a pleasant sight. DIYer Denise thought so too, so she built a black wall for it. With a door in it, so you can still access the boiler. Neat!
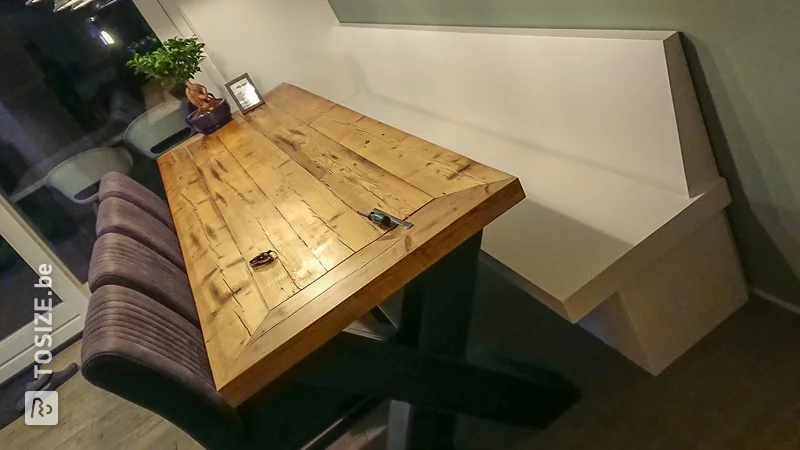
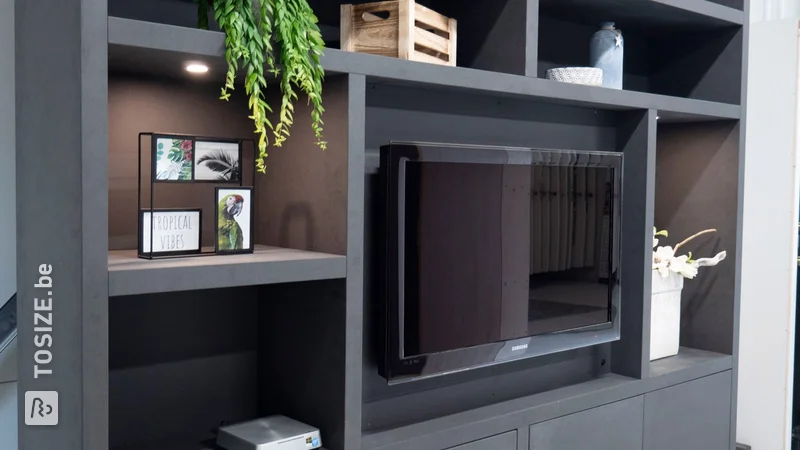
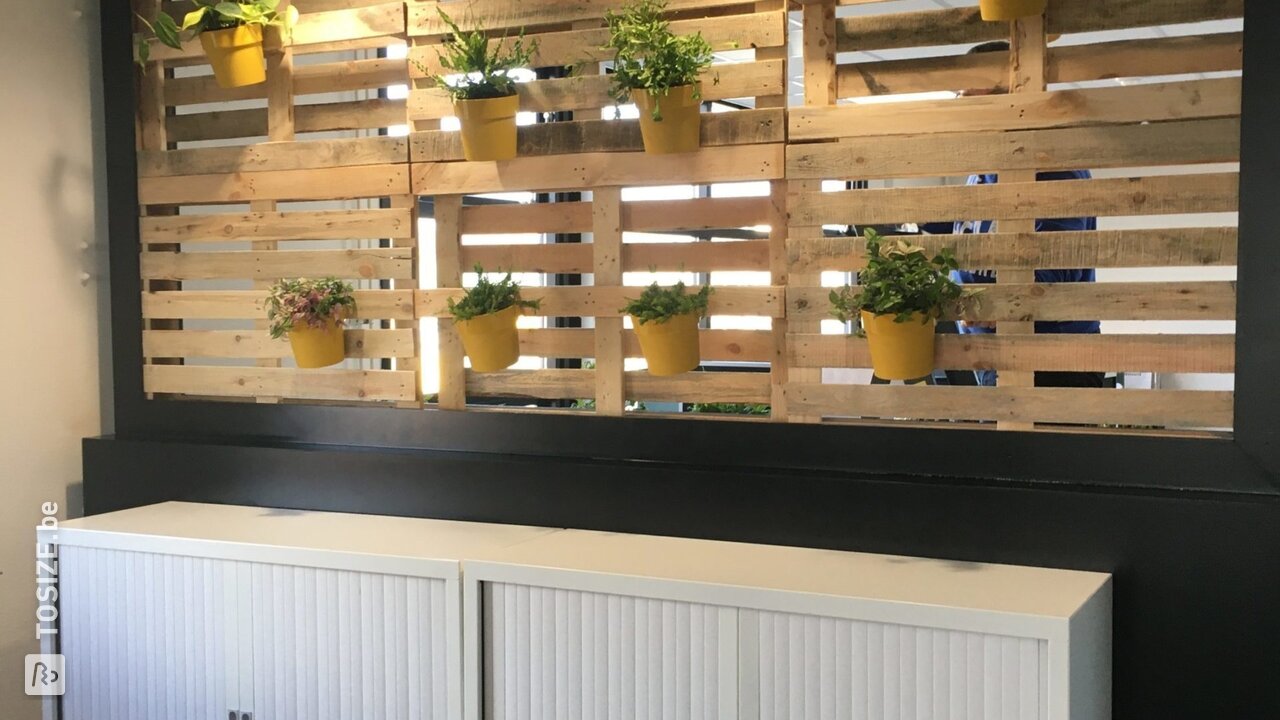
Construction of MDF with Pallet Wood
DIYer Harry wanted to reduce sound transmission in the office and also break up the space. That's why he built a construction of MDF. The pallets give it a rugged, unique character.
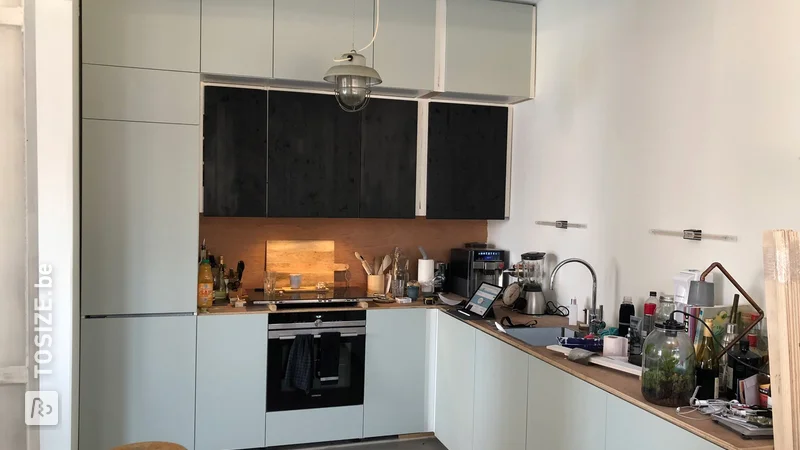
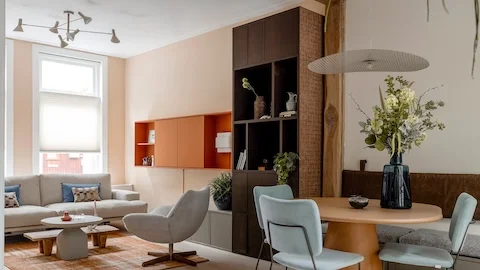
Room Divider, Kitchen Furniture, and Cabinet
A room divider, kitchen furniture, and cabinet in one. That's this beautiful DIY project by Robbert, made of MDF. The cabinet is fixed against a wall at the back for stability.
Space Divider, Bookcase, and Ottoman
You can unleash all your creativity in a DIY project, as DIYer Peter proves. He not only made a room divider but also a bookcase and an ottoman in one. Measuring was important because the ottoman needs to be at the right height and, of course, there needs to be enough room for books.

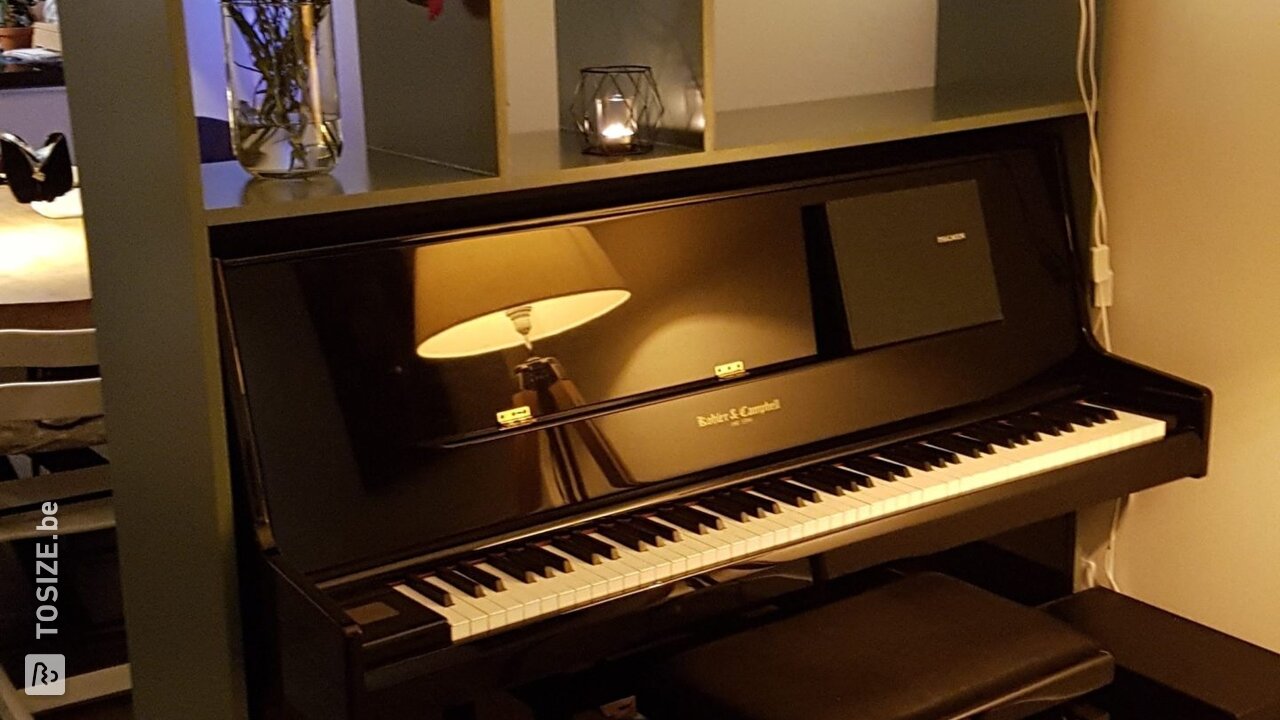
Room Divider around a Piano
DIYer Koos made this room divider around the piano from MDF with lacquer carrier foil. He had the MDF cut at an angle by us and made the connections with dowels and foaming wood glue. A screw here and there adds extra strength. Koos's golden tip: 'Think carefully, make a design first, measure twice, and check!'
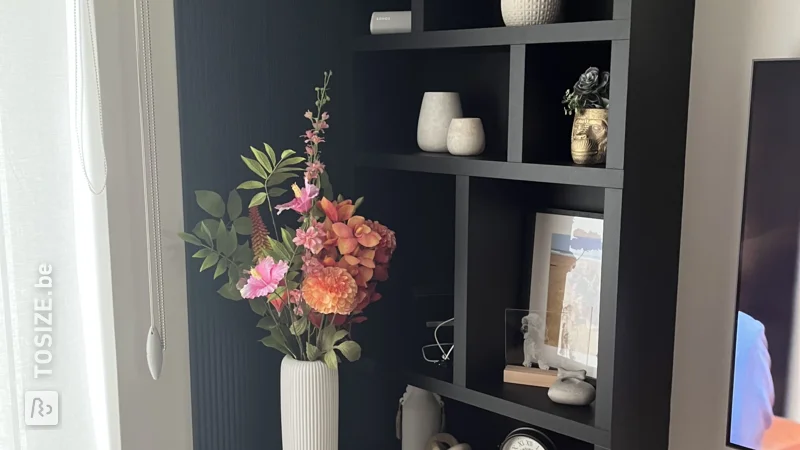
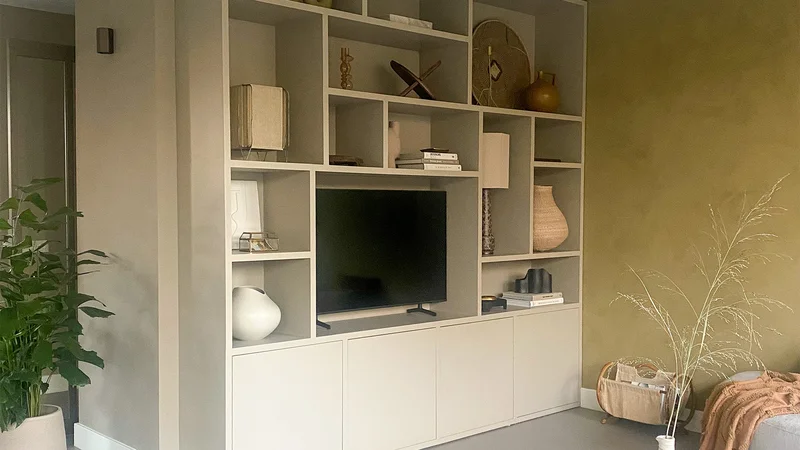
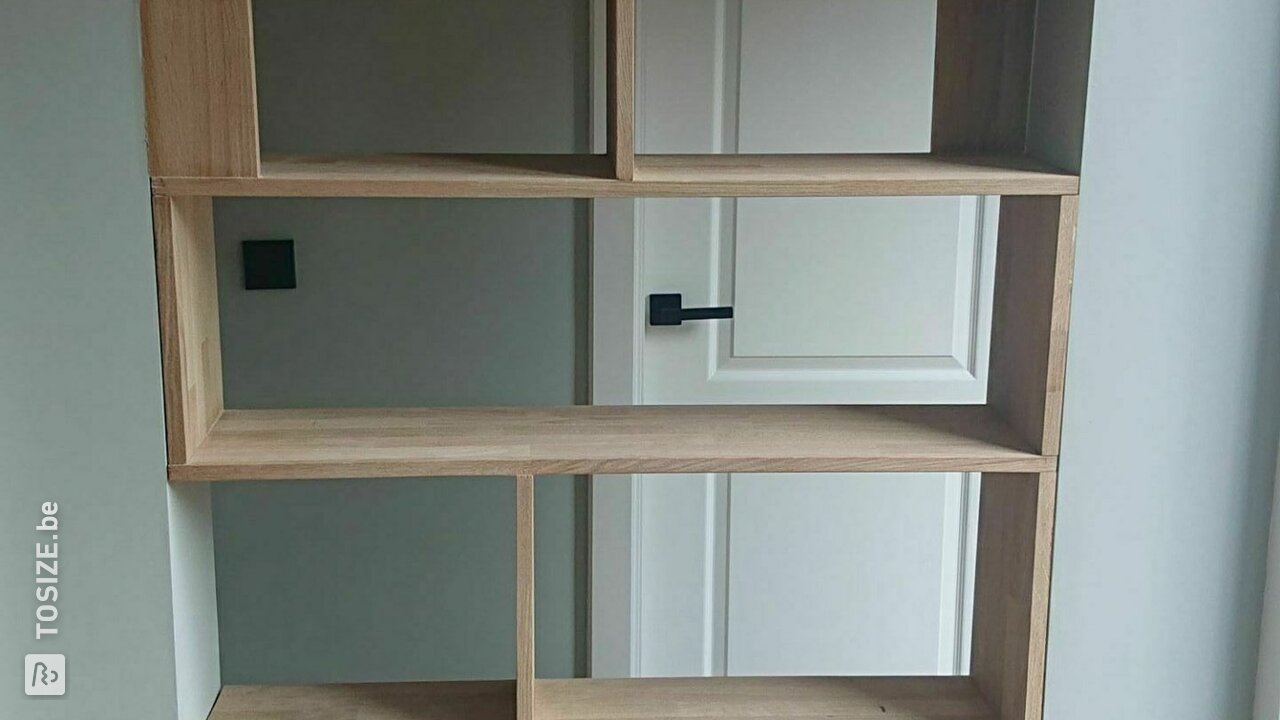
Cubbyhole Cabinet with Bookcase
To break up the room, DIYer Peter made a cubbyhole cabinet with bookcase. In his project, you'll find a clear drawing of the whole. The result is very beautiful!
Get Started on Your Custom Room Divider
Are you ready to get started on your own custom room divider? In this article, we've explained what to watch out for and shared inspiration from our DIYers with you.
Check out our complete wood assortment and think about which type of wood you want to use for your room divider. Then, order this wood perfectly cut to size from TOSIZE.be. We'll deliver it to your home quickly, so you can start assembling your wall right away.
Have fun with this project!