Making a wooden radiator casing
If you like nice details, then a homemade radiator cover is for you. Without too much effort, you can hide your radiator behind a subtle and sleek surround. We'll give you tips & tricks so that you'll be amazed at the result of your homemade radiator cover! The sawing is done by TOSIZE.be and you can leave that in our capable hands. We saw to the millimetre and we can also finish the edges for you. So you can start assembling the radiator conversion immediately. Saves time, saves effort!
Radiator cover made of MDF
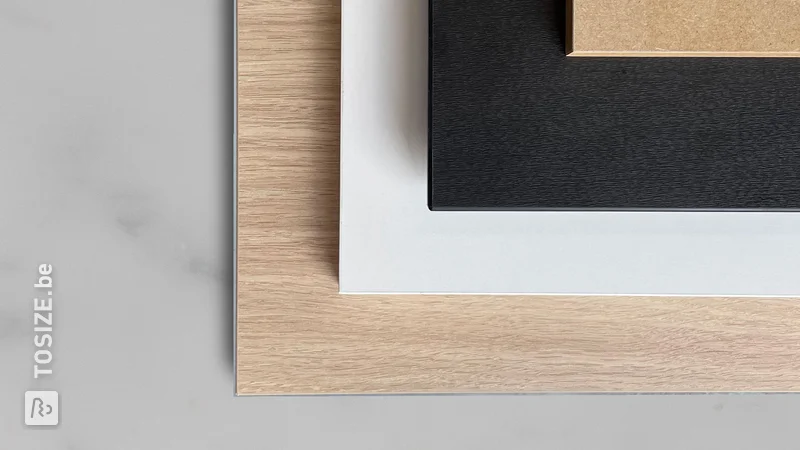
A frequently used material for a radiator conversion is MDF. This is a fibre board that is widely used in constructions, easy to work with and very strong. A real powerhouse! You can use it to make anything from a wall shelf to a cabinet and from a kitchen cupboard to a radiator frame. Moreover, there are many varieties of MDF available. We have listed the most suitable ones for a radiator conversion:
MDF Natural
MDF Natural is the most standard form and is often chosen for its smooth surface and because it is easy to process. MDF Natural is strong and has high wear resistance. It is the most economical variant of MDF in the range.
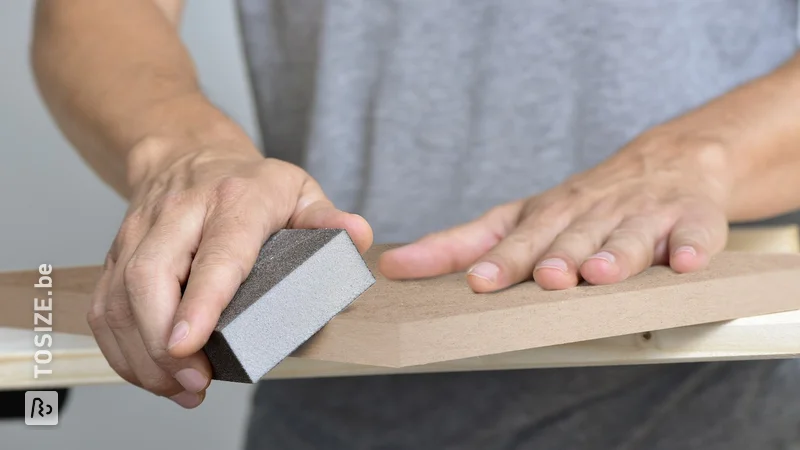
MDF Natural is absorbent, which makes it important to treat the material well with a primer before finishing. The ends require some extra attention. To counteract the absorbing effect of the ends, there are various possibilities: use diluted wood glue with a little water, putty or a special edge sealant. See the DIY tip: This is how you varnish the ends of MDF.
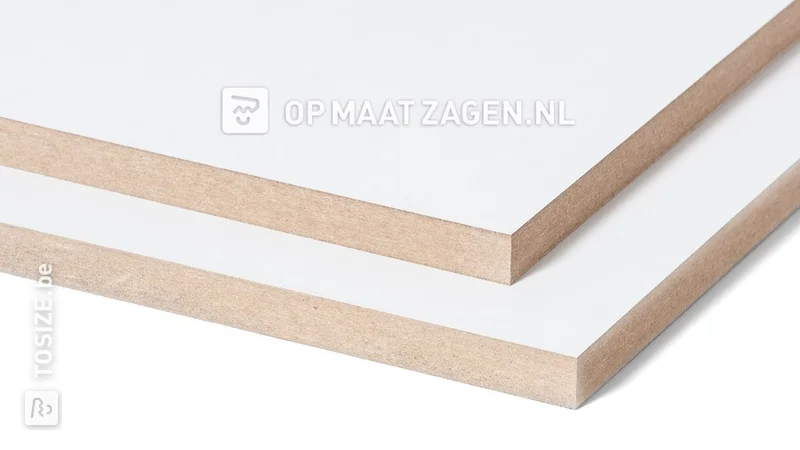
MDF film
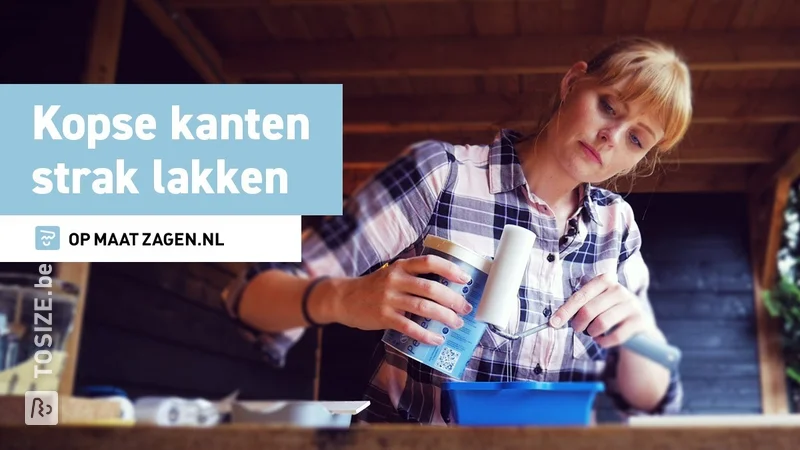
In the case of MDF film, a paint-carrying film is pressed onto the board, which means that you do not need to prime the material. This is very convenient if you want to paint the radiator casing. It saves you time and effort. No foil has been added to the ends, so you do need to pre-treat the edges with an edge sealer. If you do not do this, it is very difficult to achieve a neat and professional end result.

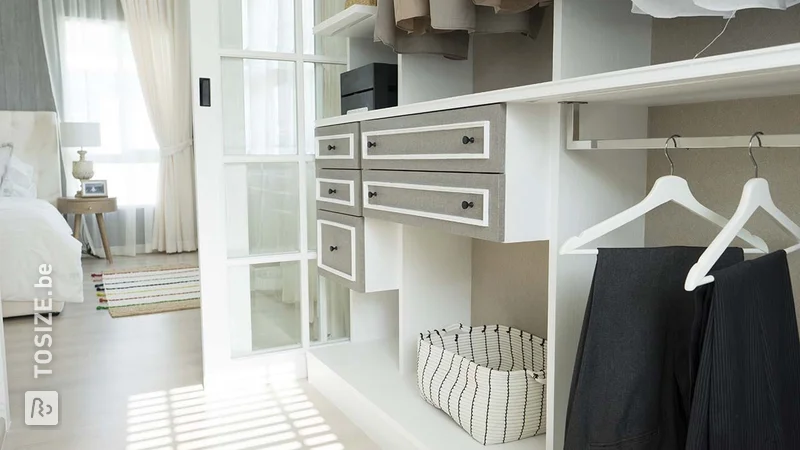
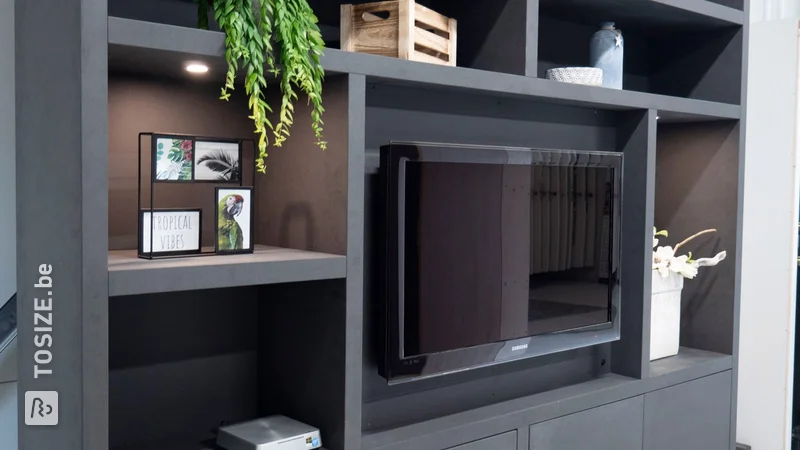
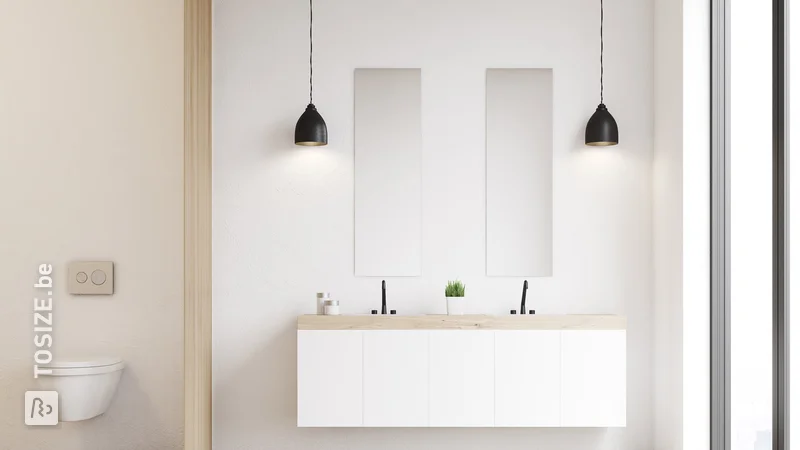
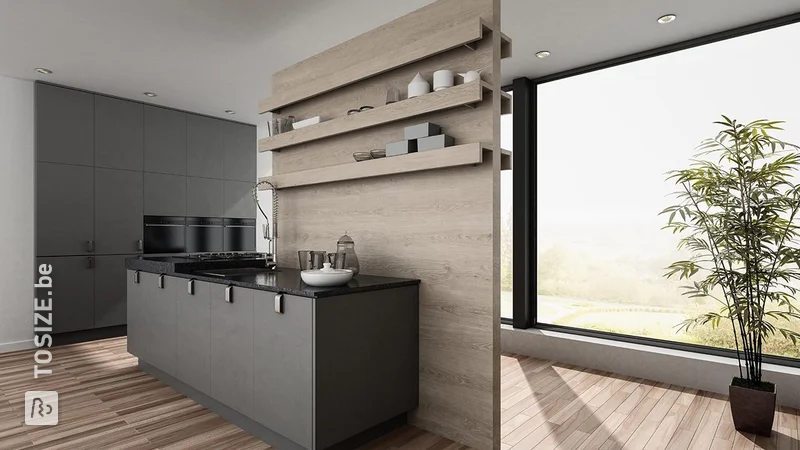
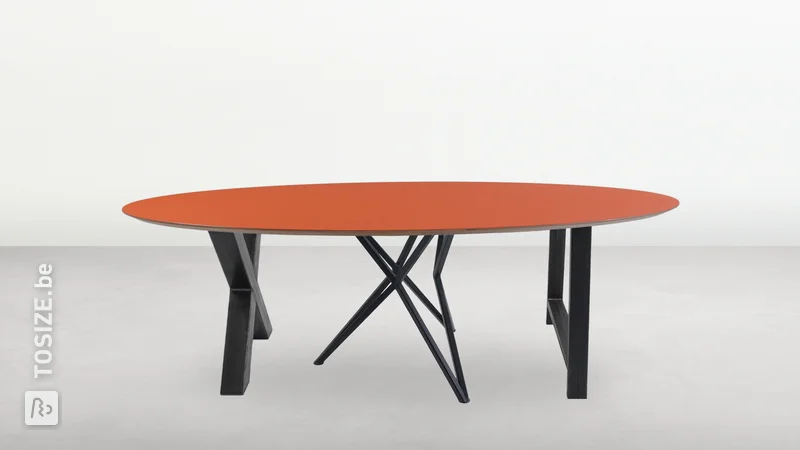
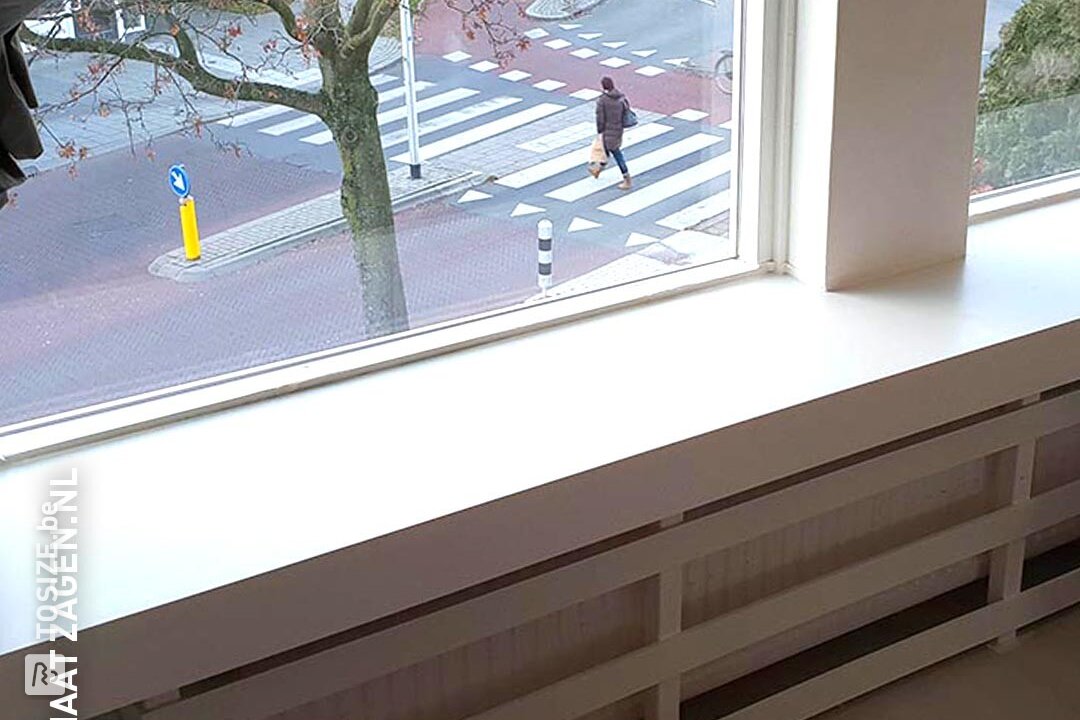
Examples radiator conversion
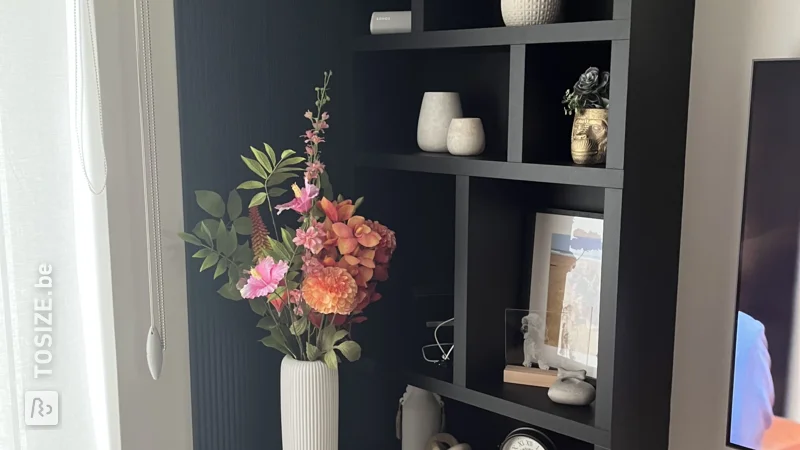
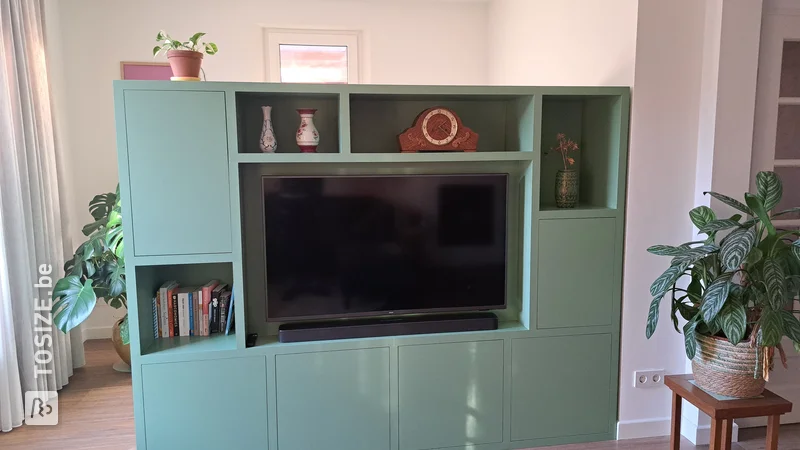
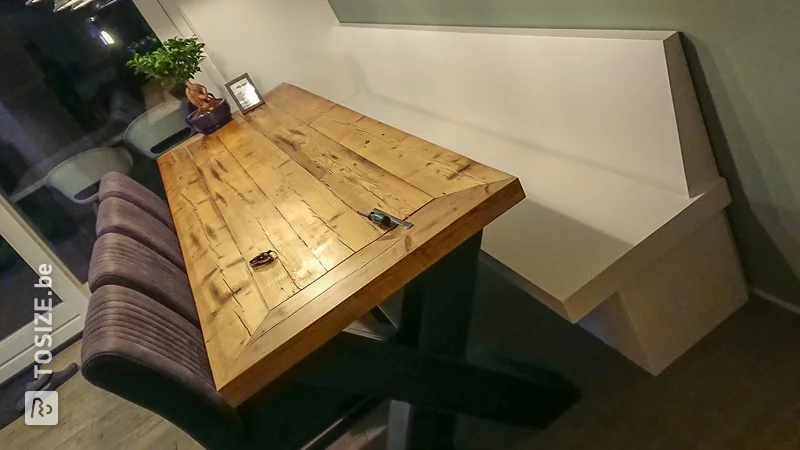
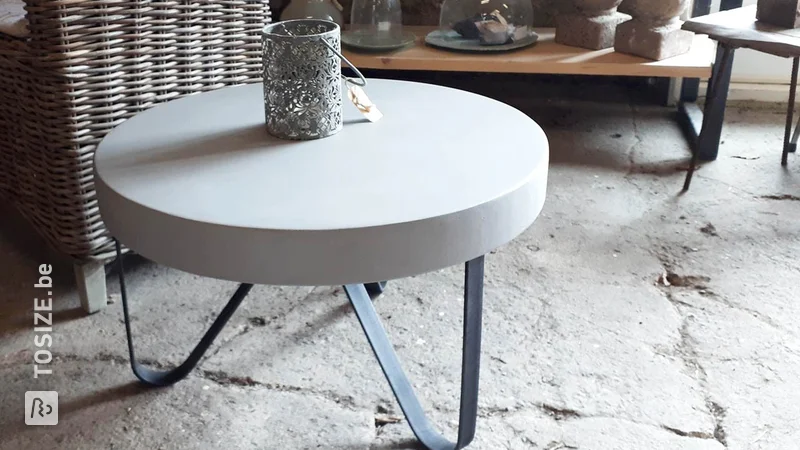
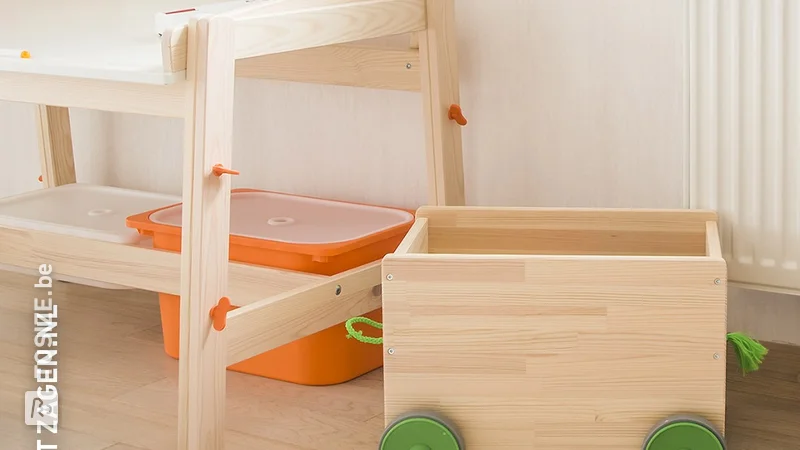
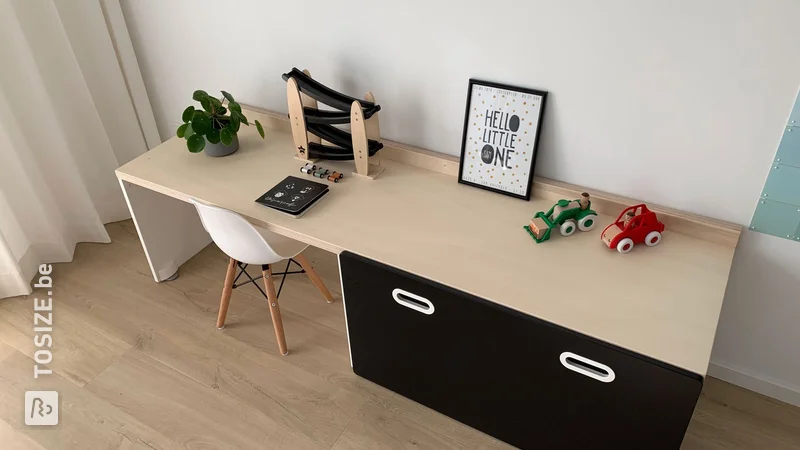
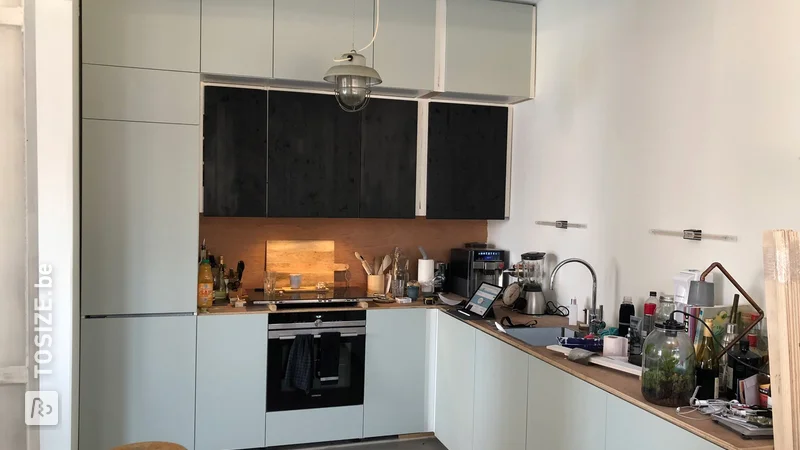
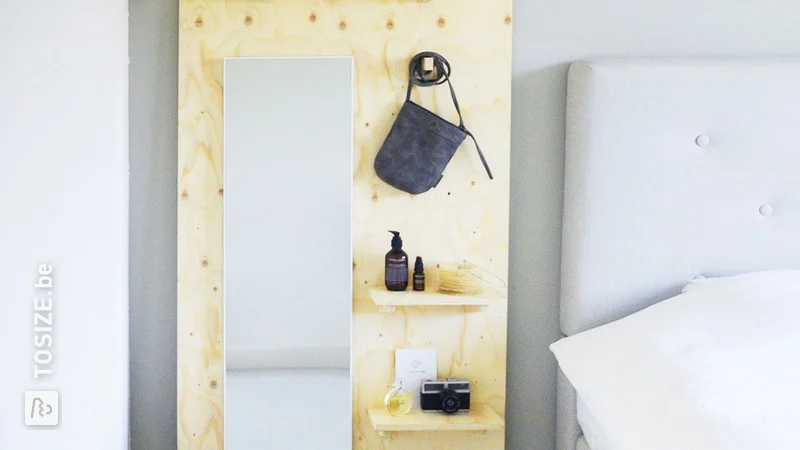
The customers of TOSIZE.be make everything! We have spotted a unique radiator conversion several times. Be inspired by the shape and construction and find out how Philip and Dennis did it.
Step-by-step plan for converting radiators
What steps can you follow to achieve the best possible result? We list the steps for you. How to build a wooden radiator frame:
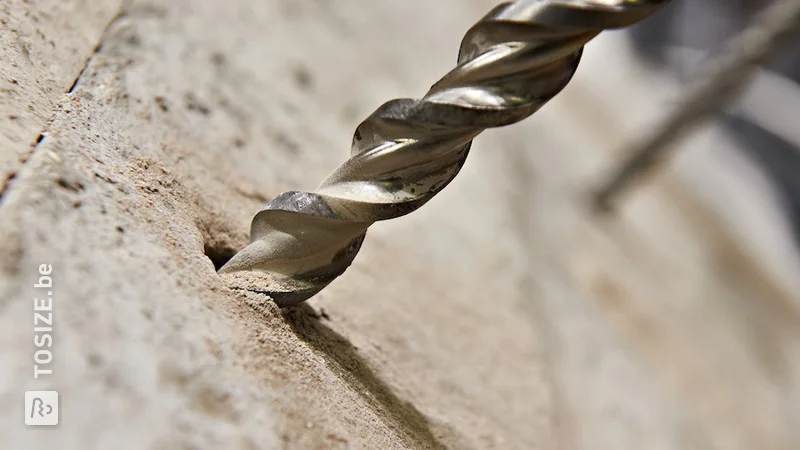
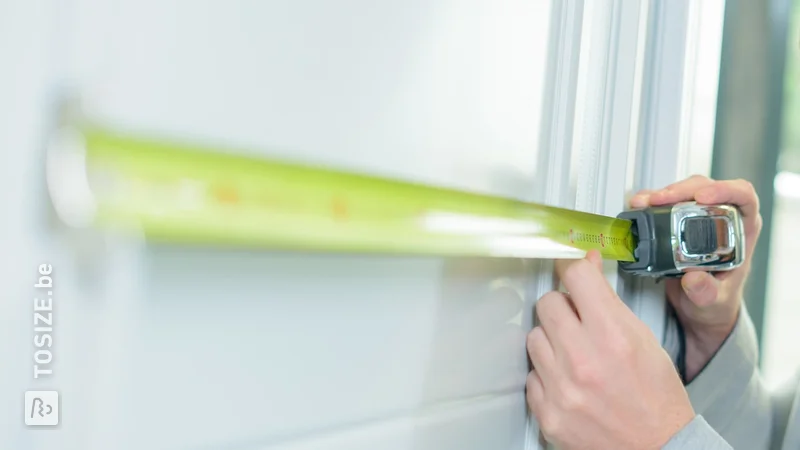
1. Measuring
Start by measuring the radiator(s) you want to get rid of. This is a precise job and requires precision. Measure the height, width and depth of the radiator and make a sketch of it. Take into account the piping and the on/off switch of the radiator! Add the dimensions directly to the sketch, so you have a good overview when you want to determine the dimensions of the casing later on.
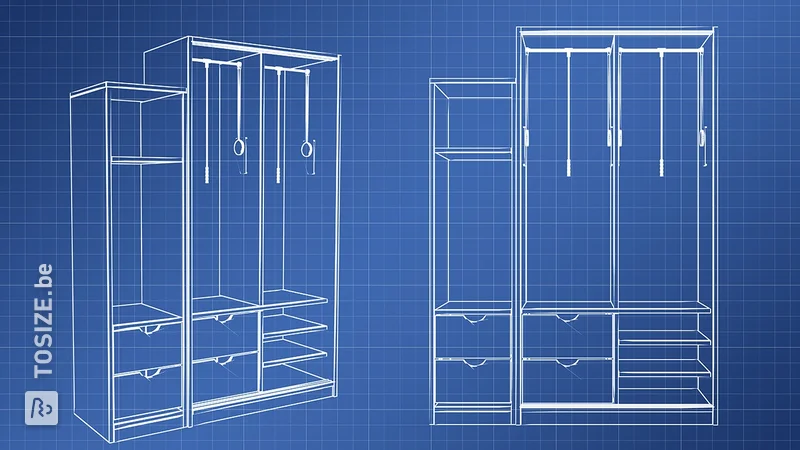
2. Design
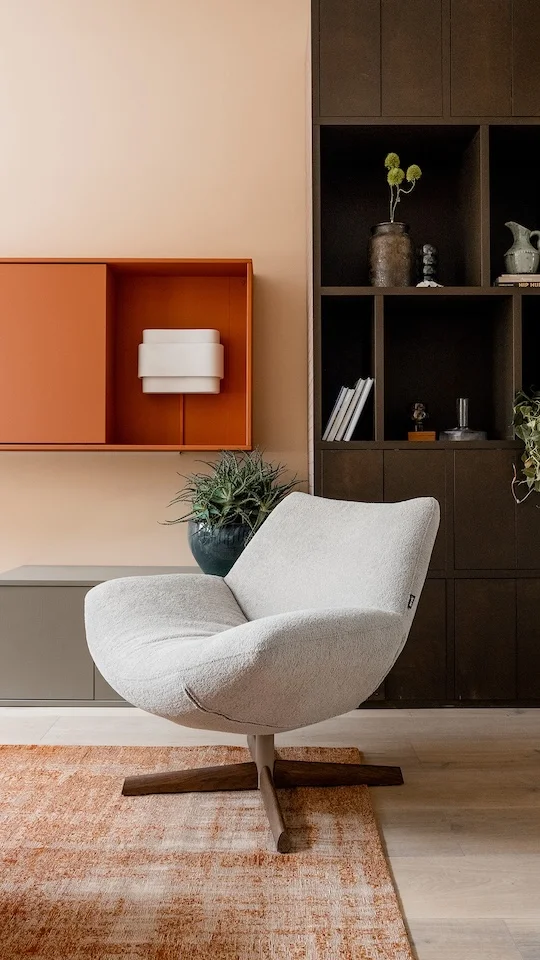
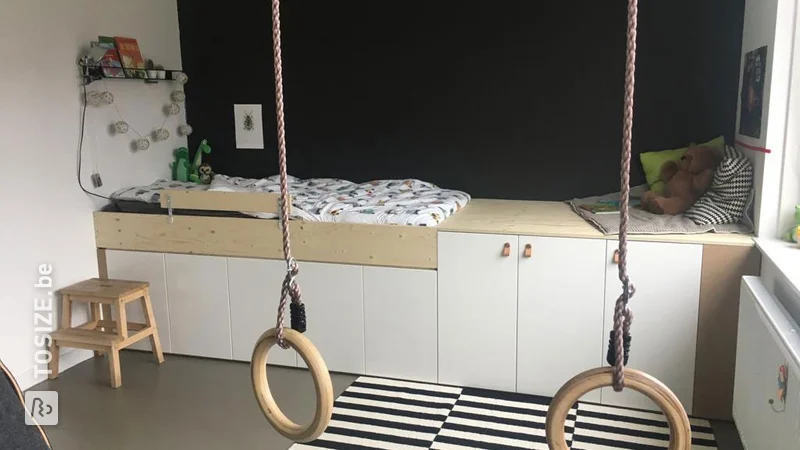
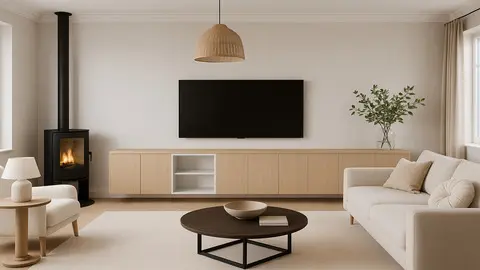
The purpose of a radiator is to heat the room, so take the heat circulation into account. Keep sufficient space between the casing and the radiator. A distance between 5 and 10 cm is sufficient. Look online for inspiration to make the radiator conversion that best suits your interior. You can also use the casing as a multifunctional space and turn it into a seat. Think about a seat that is deep enough and attach extra support slats underneath for stability.
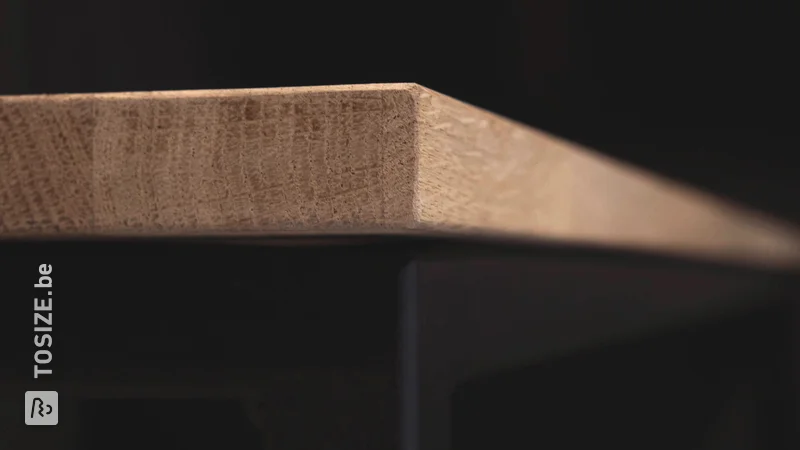
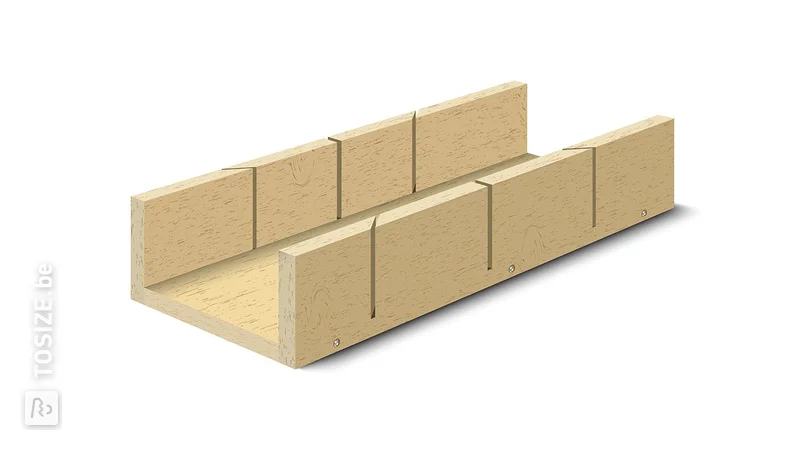
Shapes and edge finishes.
Did you know that you can also have wood and board material sawn directly into a shape or with an edge? See all possible shapes and finishes here.
3. Determine dimensions
Make a new sketch, but then draw the design of the radiator casing and the construction needed to fix it firmly to the wall. This requires some thought. Think about the heat circulation and the open spaces through which the heat can radiate into the room. Determine the style and appearance of the casing and note the dimensions for each plank and slat for support.
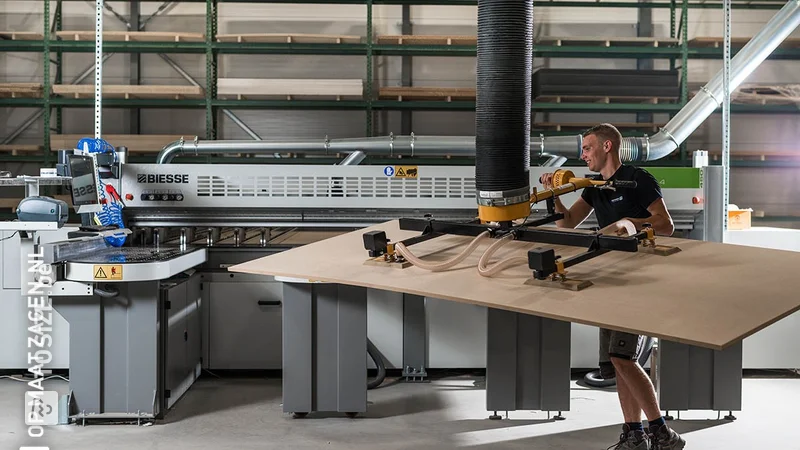
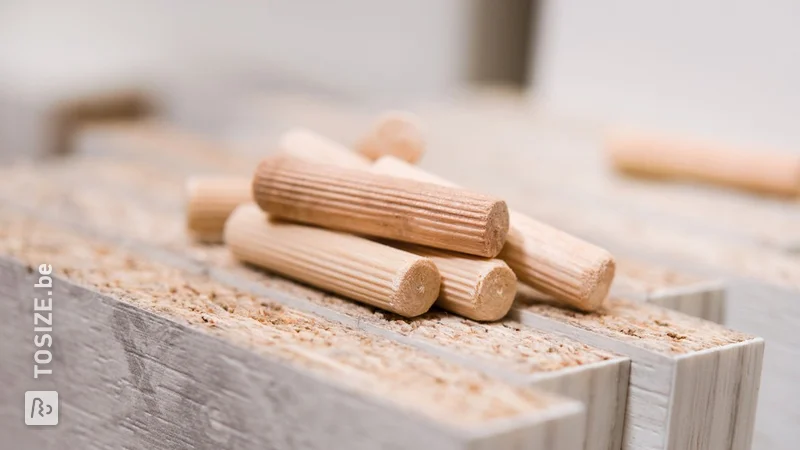
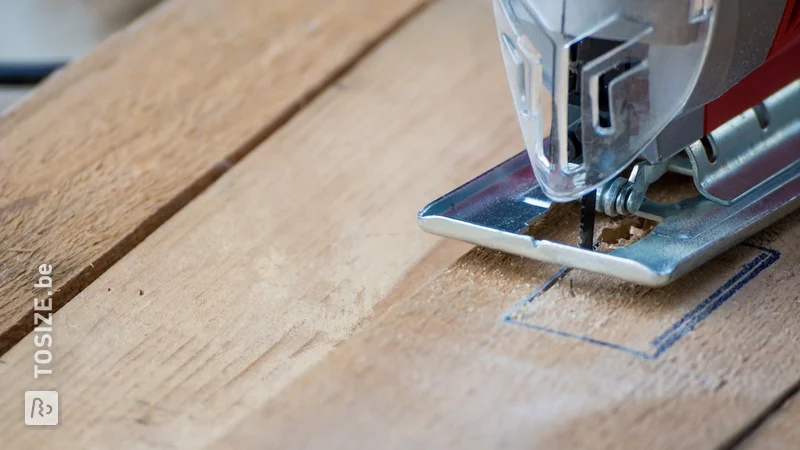
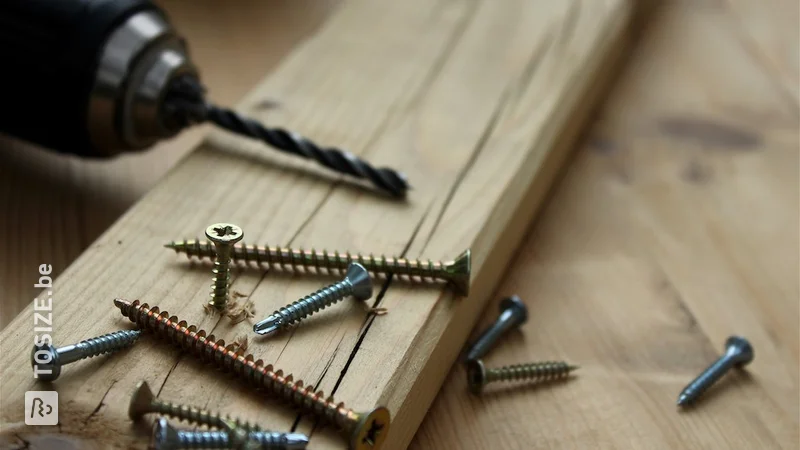
4. Cutting wood to size
Choose the wood or board material you want and enter the correct dimensions per board using TOSIZE.be. Each board can be given its own reference number during the ordering process, so that you know exactly which part it is for your project. Handy, right? When the material is delivered, you will know exactly what to do based on your own sketch and the markings on the boards.
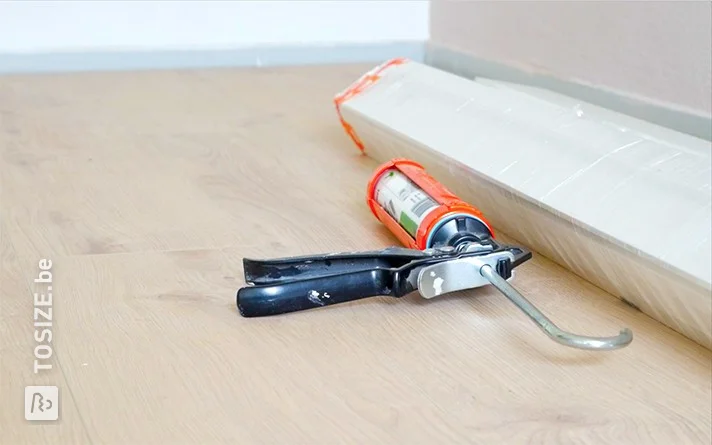
5. Fastening the radiator body
The precise fixing depends on your personal design. With the tips from the first steps of this step-by-step plan, you should have designed a casing that is both functional and stylish. Should you wish to remove the casing from time to time, to remove dust, create a fixing that is not permanent.
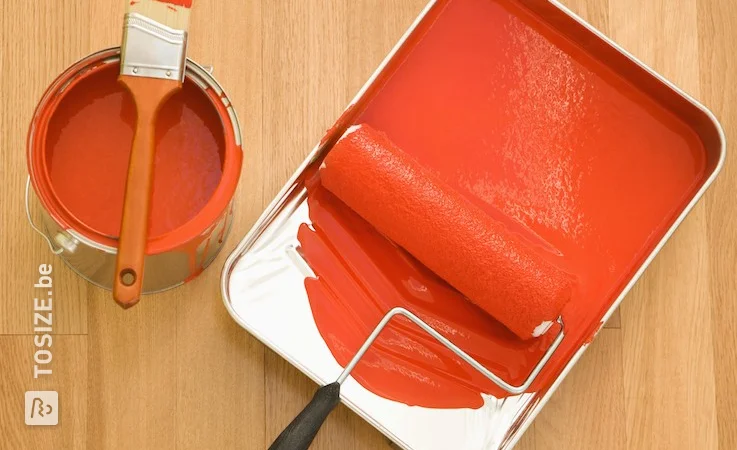
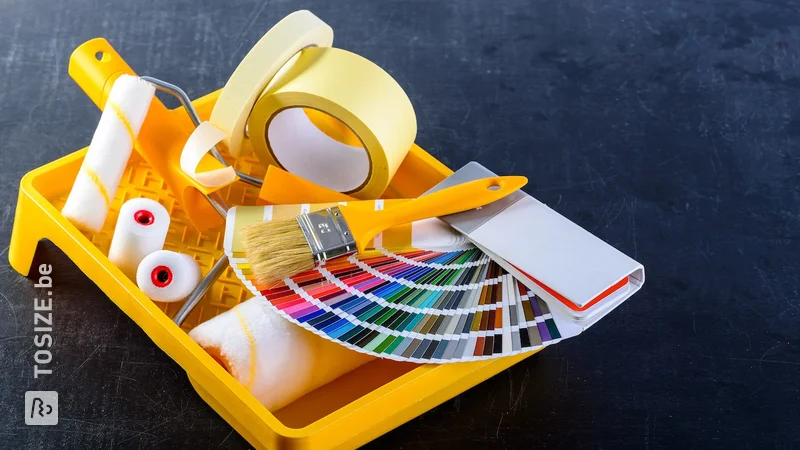
6. Treatment of wooden radiator casing
If you have opted for MDF Clear, we recommend that you first pre-treat the boards and then attach them. If you have opted for MDF Paint Carrier or MDF Black V313, it is important that you only pre-treat the end edges with an edge sealer. Do you want to know how to do this? Then take a look at our handy tip: This is how you varnish the ends of MDF. Lightly sand and degrease the material and paint it in the desired colour. To find out how, see our handyman tip: Paint beautifully and evenly in 6 steps.