- TOSIZE.be
- Do it yourself
- DIY Projects
Stylish living room cabinet in a niche, by Susanne
Stylish living room cabinet in a niche, by Susanne
Make this furniture yourself using TOSIZE.be
Susanne
Easy
3 minutes
Susanne has hung this cabinet as she sees fit. We would like to point out that hanging furniture is not something we actively advise from TOSIZE.be. Hanging a cupboard requires the necessary technical knowledge and insight, in this we do not give advice. Please note that hanging the cupboard is entirely at your own risk.
For this DIY project, I had one clear challenge: an alcove in my house that I didn't yet have a good idea for. The space seemed straight at first glance, but in reality, it was a few millimeters off. When I came across the TOSIZE.be website, everything fell into place. Because you can order with millimeter precision, I was able to design a cabinet that fits perfectly in the alcove. I also regularly share these kinds of interior and DIY projects on my Instagram: @suus_deglee .
I've done similar projects before, but I built them entirely myself. That meant a lot of trial and error, measuring, and calculating. TOSIZE.be's design software made planning much easier and more transparent.
I decided to build this cabinet myself because the niche is so specific in terms of dimensions that no prefabricated piece of furniture would really fit properly. I also looked at other suppliers, such as Tylko, but that ultimately proved too limited. A major advantage of this cabinet is that it comes primed, so I could finish it myself in the desired color.
The biggest challenge was getting the cabinet to fit as snugly as possible. You always need some leeway, and the walls are never perfectly straight. Fortunately, it worked out well in the end. The best part of this project was the moment the cabinet was in place and you saw the result of your design, assembly, and finishing come together.
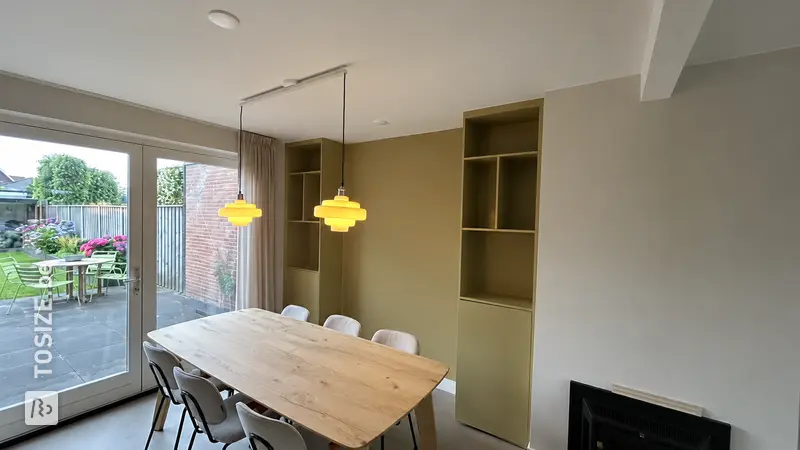
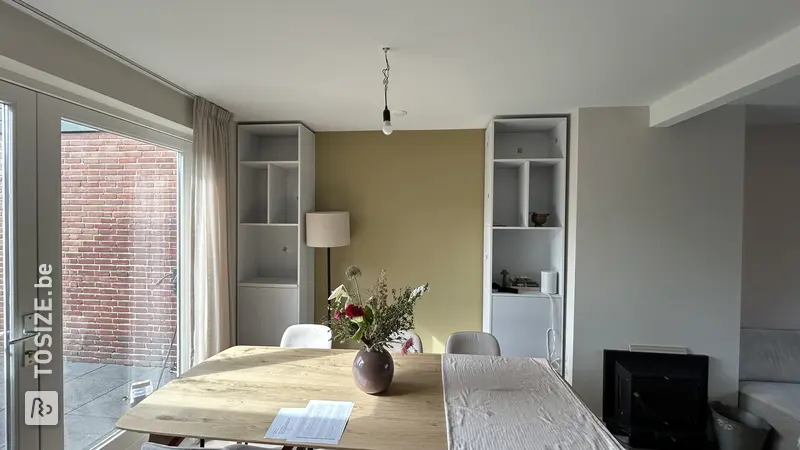
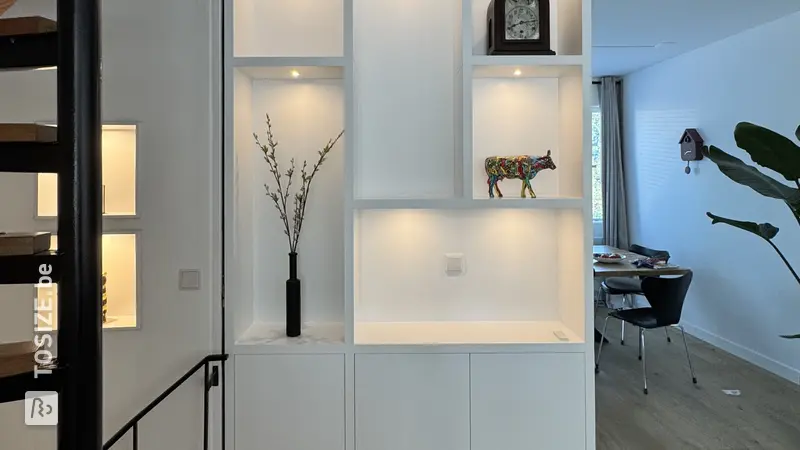
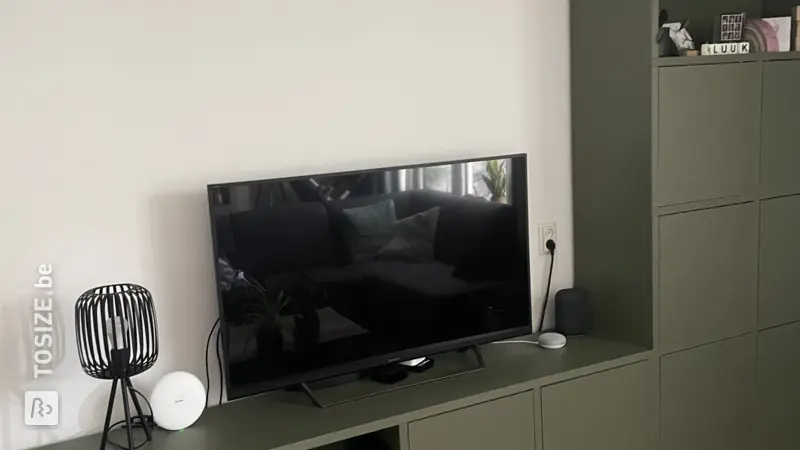
Before
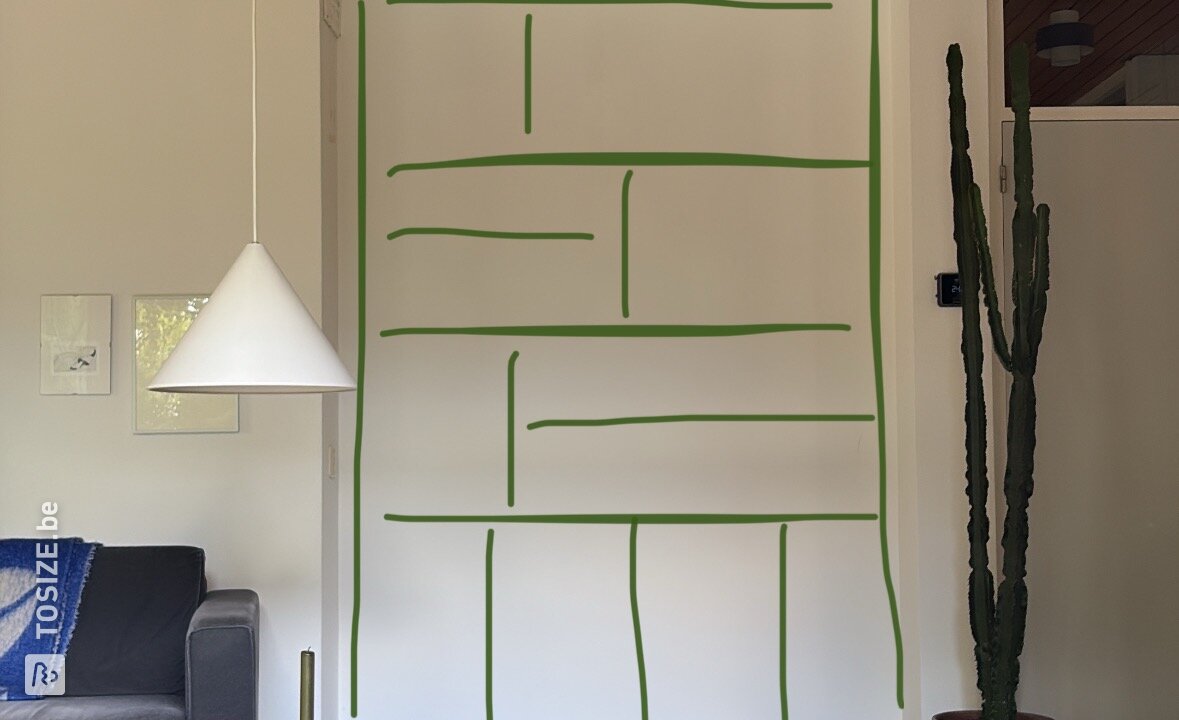
This is where the cabinet was supposed to go. The niche seems perfectly straight, but there's still a few millimeters of deviation.
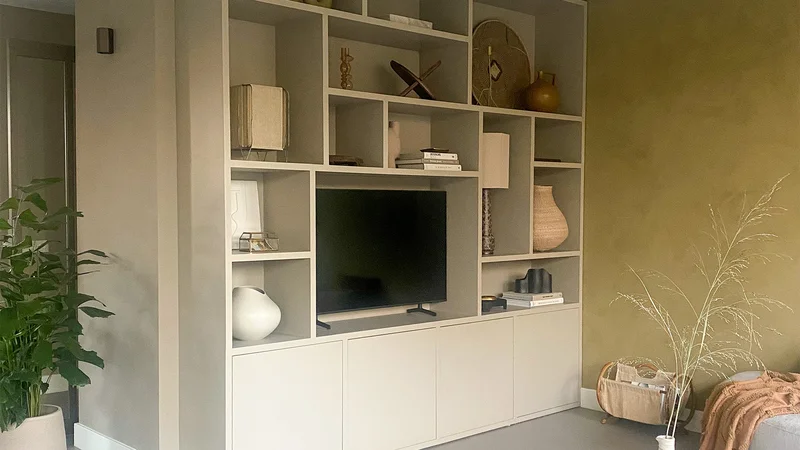
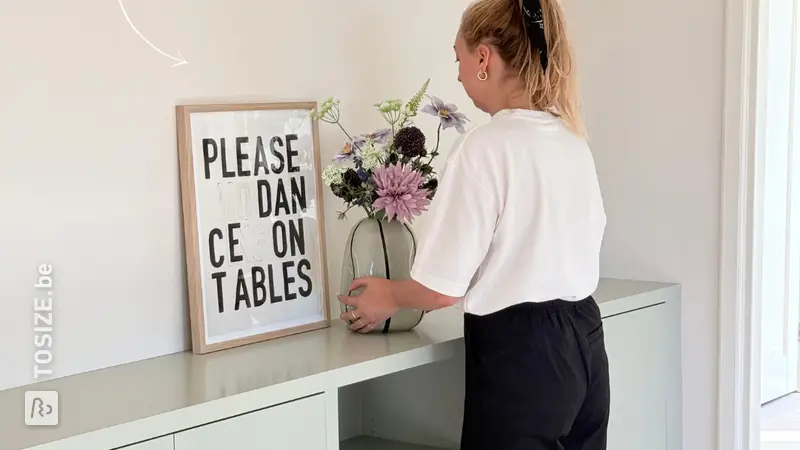
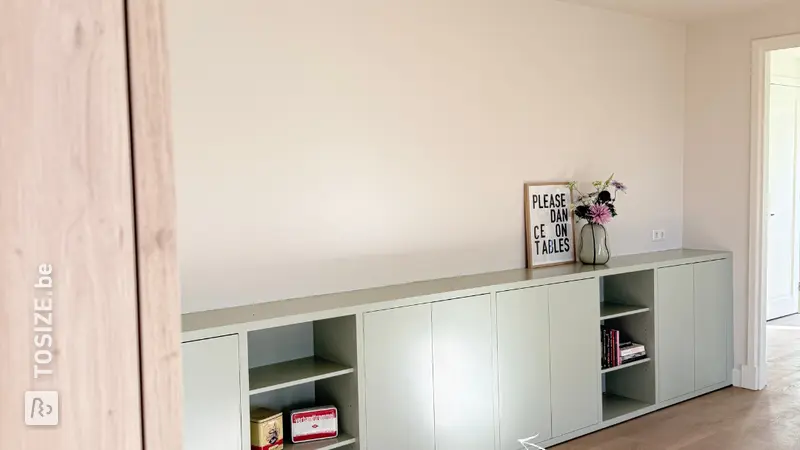
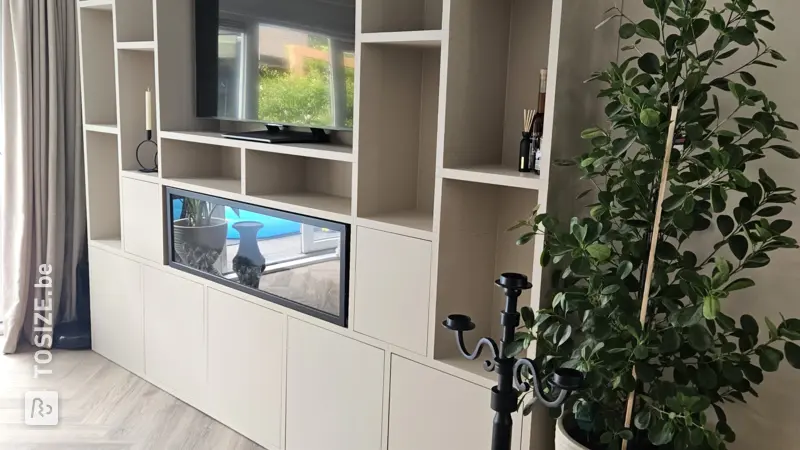
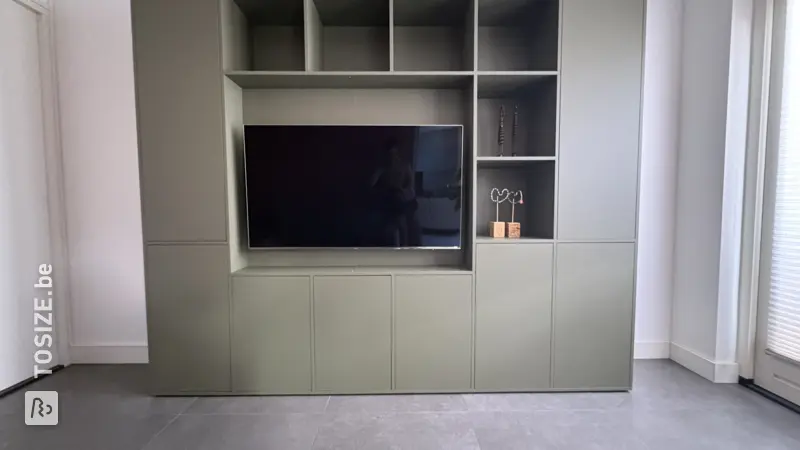
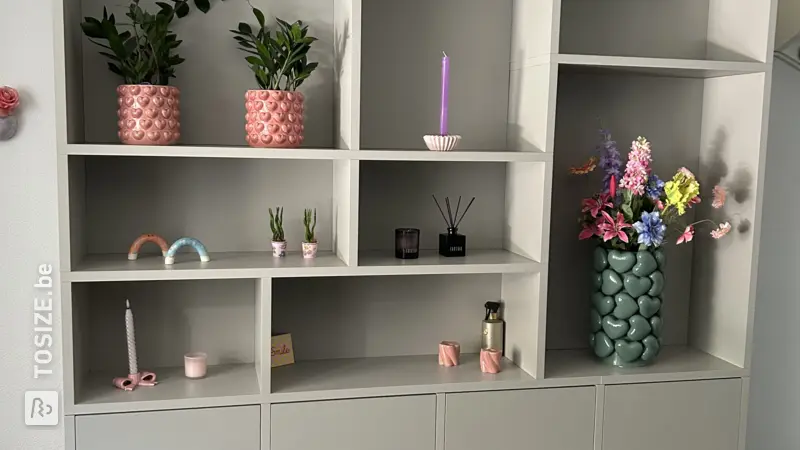
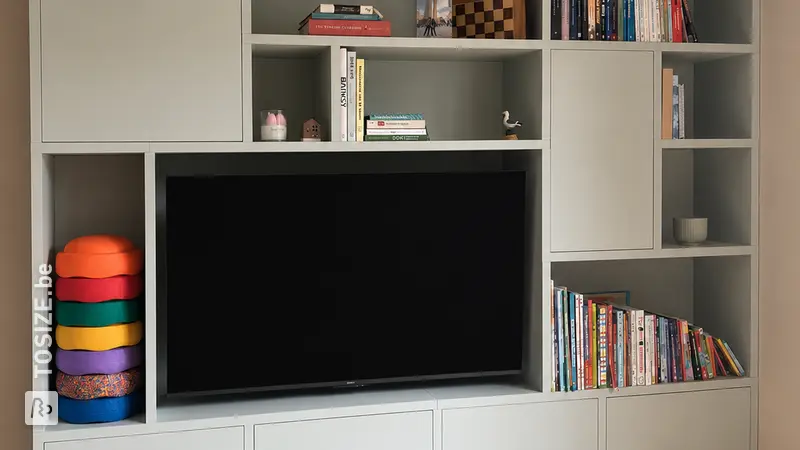
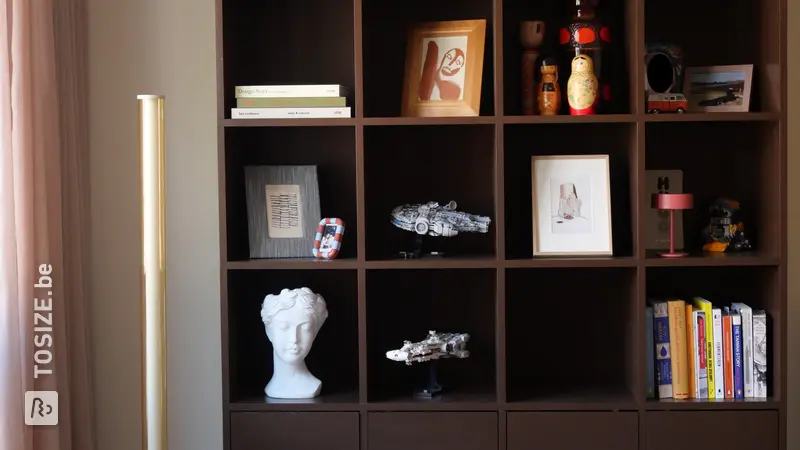
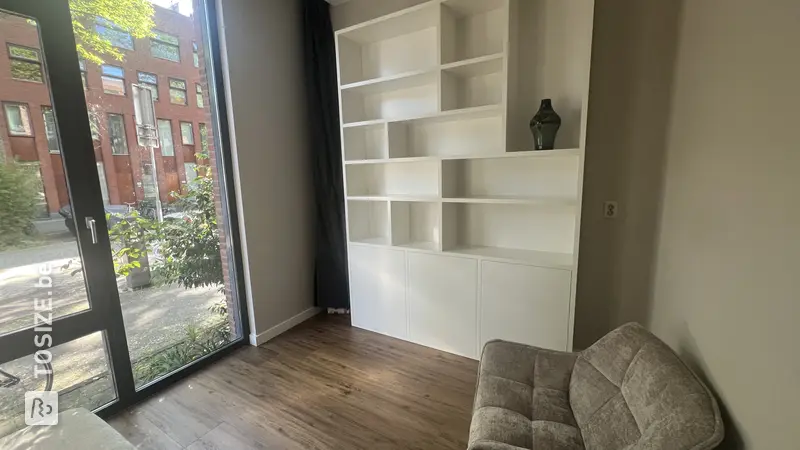
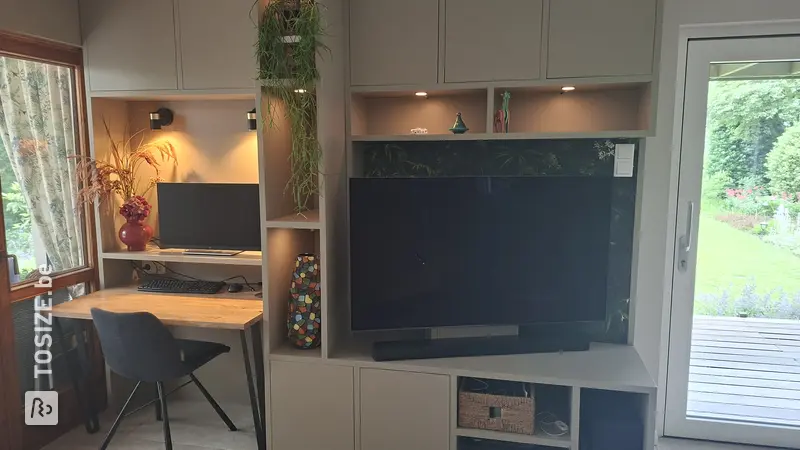
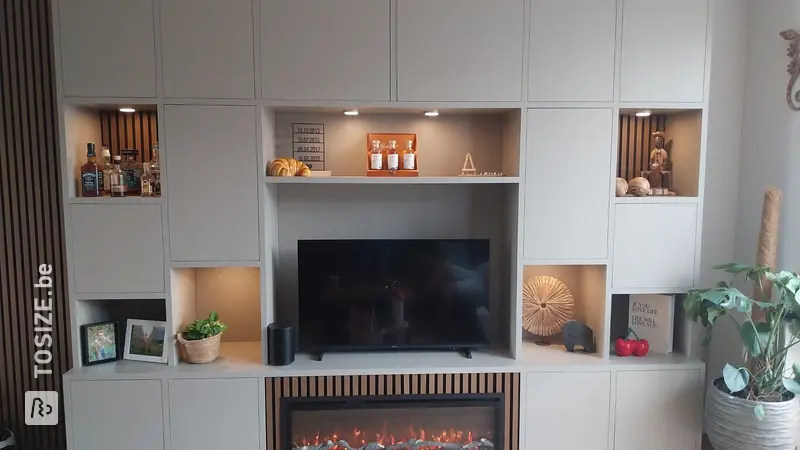
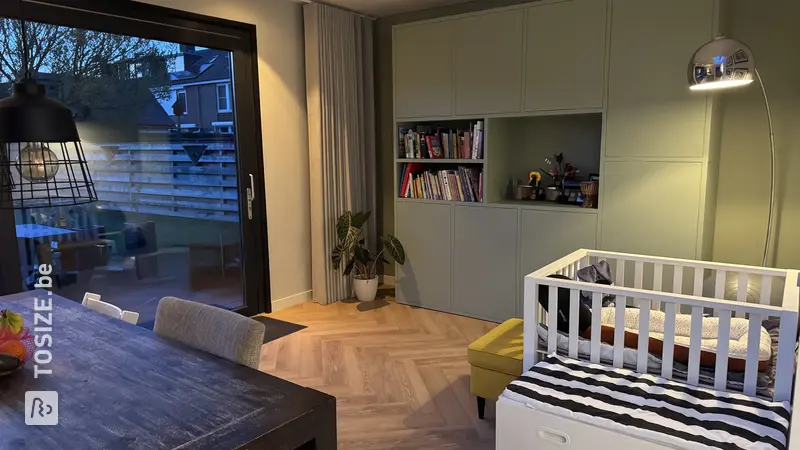
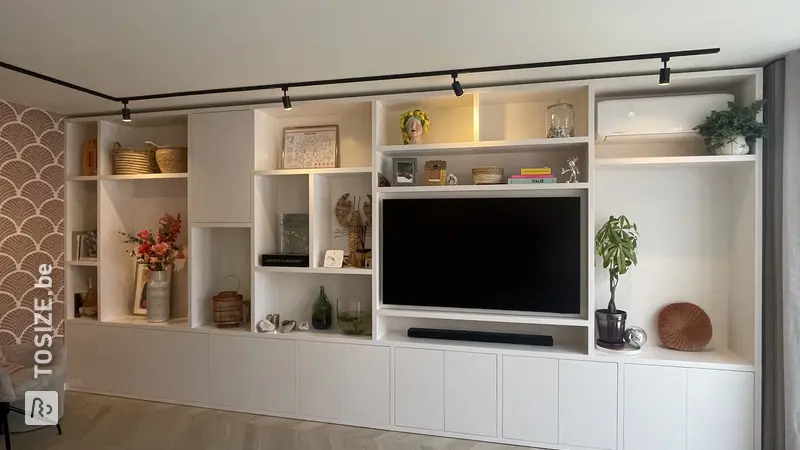
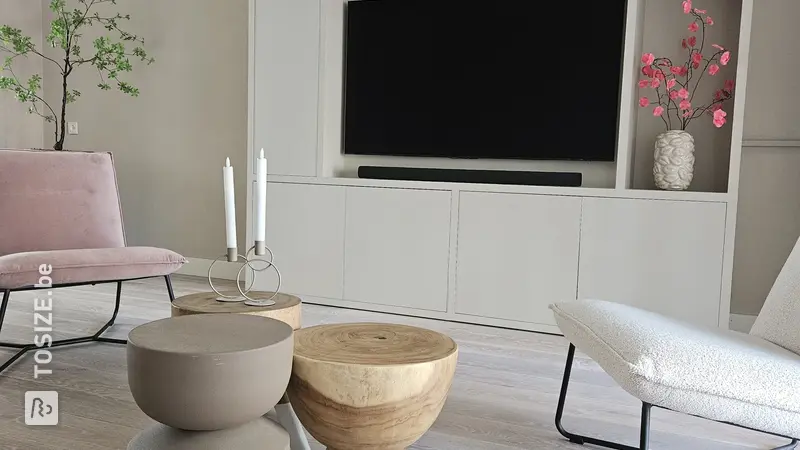
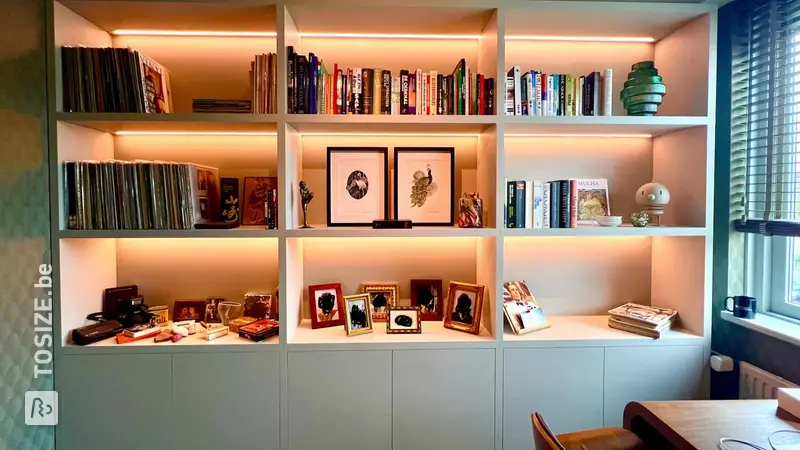
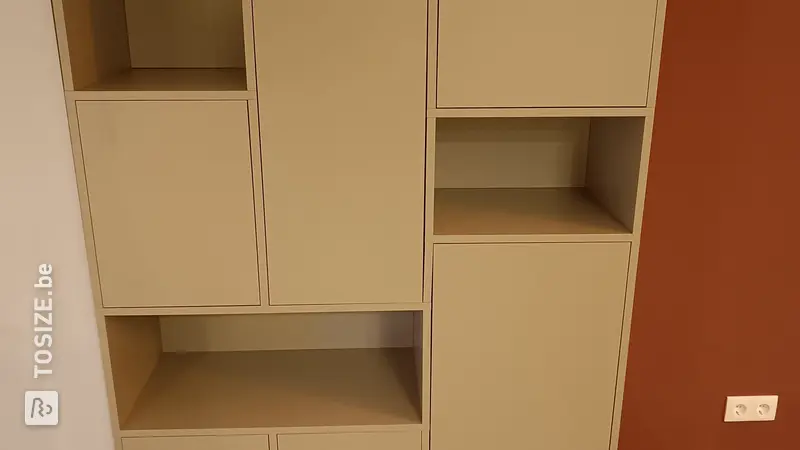
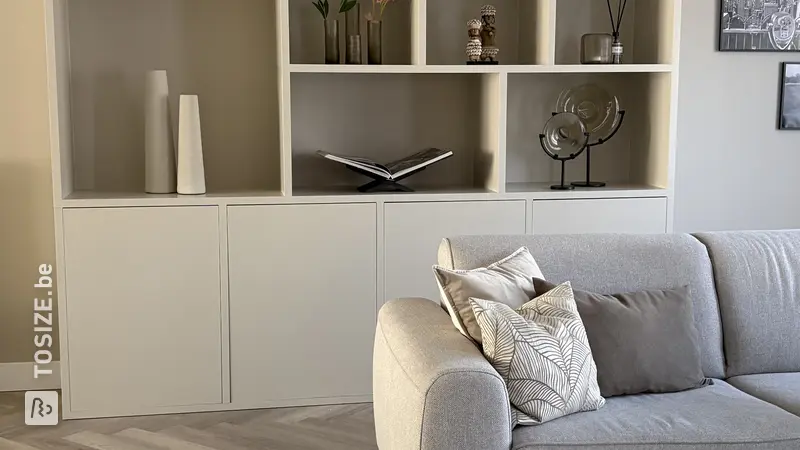
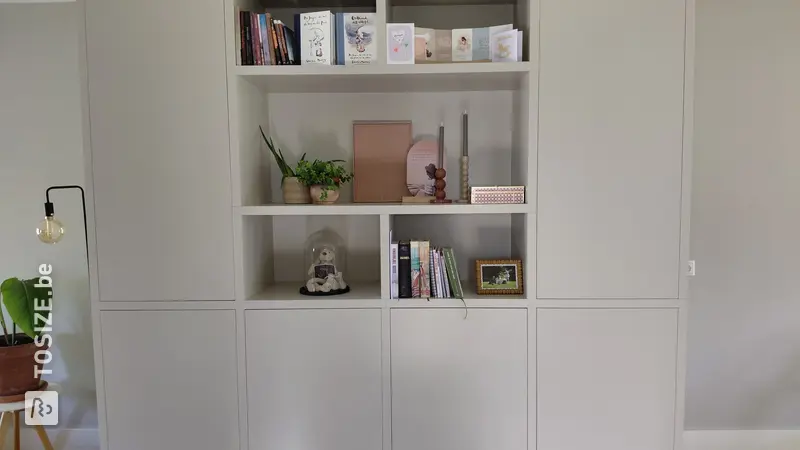
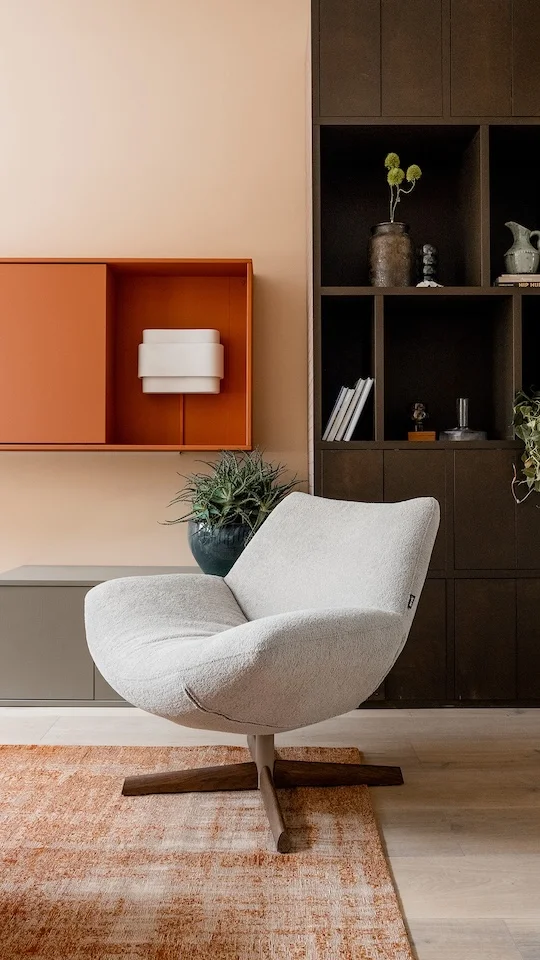
After
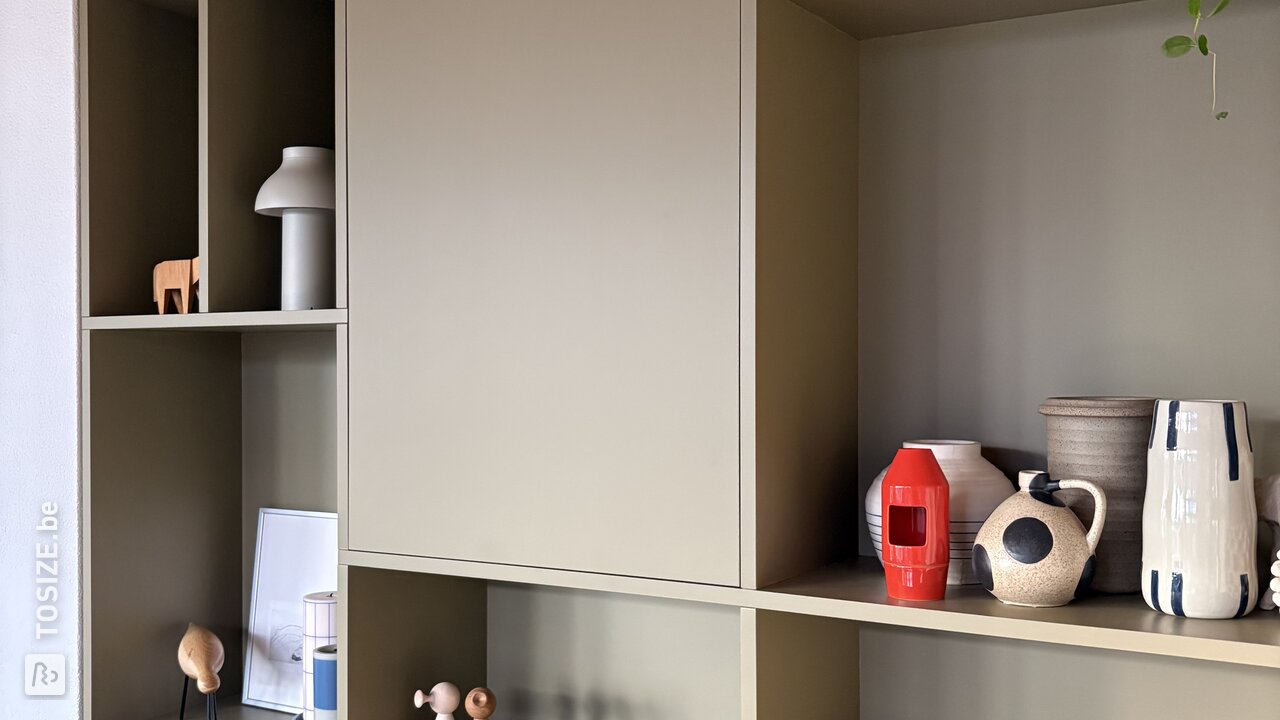
The cabinet fits perfectly in the niche. It's slightly elevated, creating a floating effect and making it easy to clean.
Everything fit perfectly the first time. The cabinet looks like it's always been part of the house.
— Susanne Glee
Specifications
Cupboard
Dimensions: 31.0 × 110.0 × 24.0 cm
Material: – 18 mm
Installation box including:
- Glue
- Wooden dowels
- Hinges
- Screws
- Reinforcement corners
- Customised manual
Supplies:
- Battery
- screw
- Acrylic sealant
- Hammer (rubber)
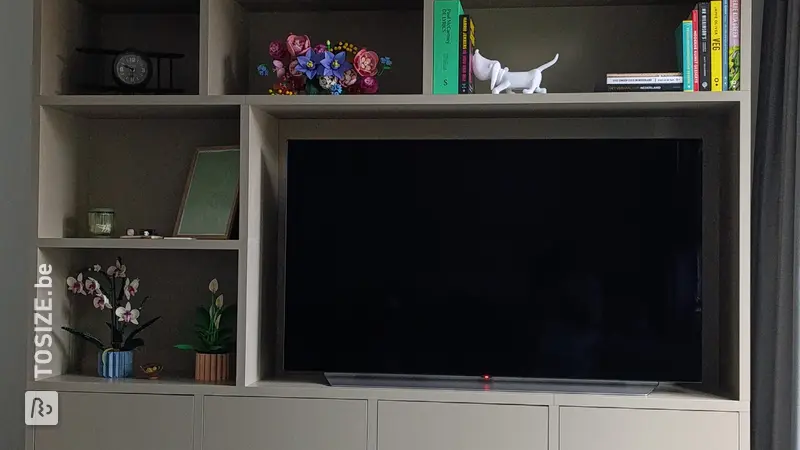
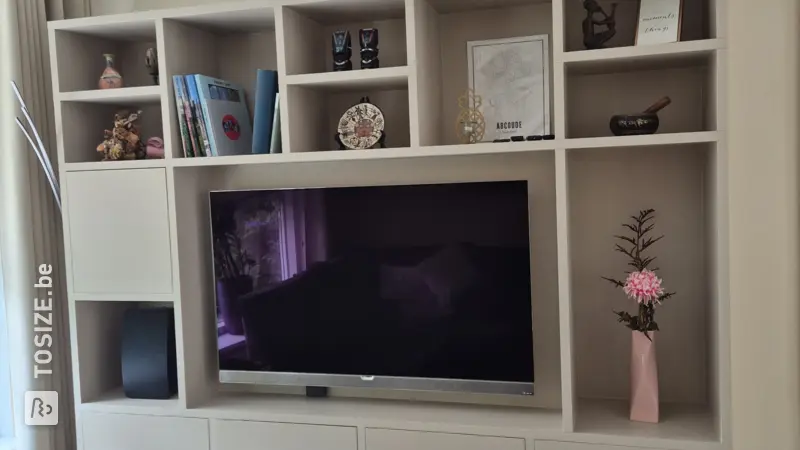
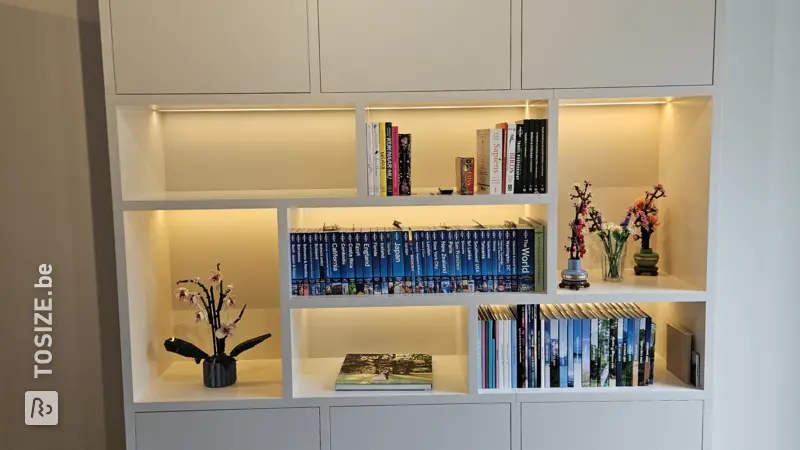
Final result
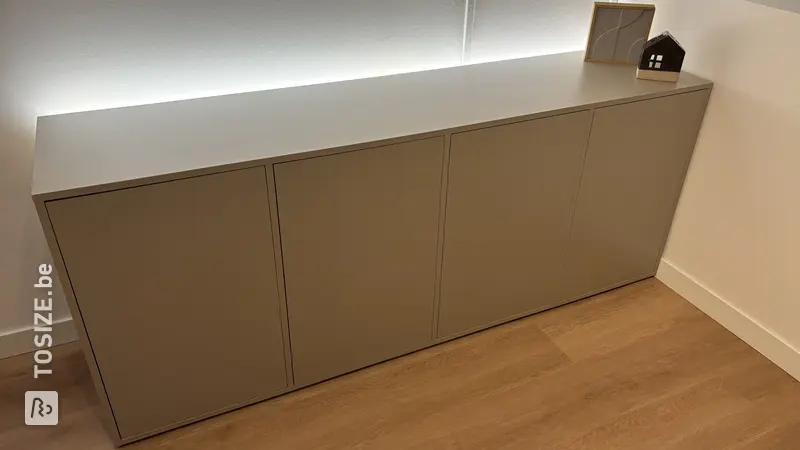
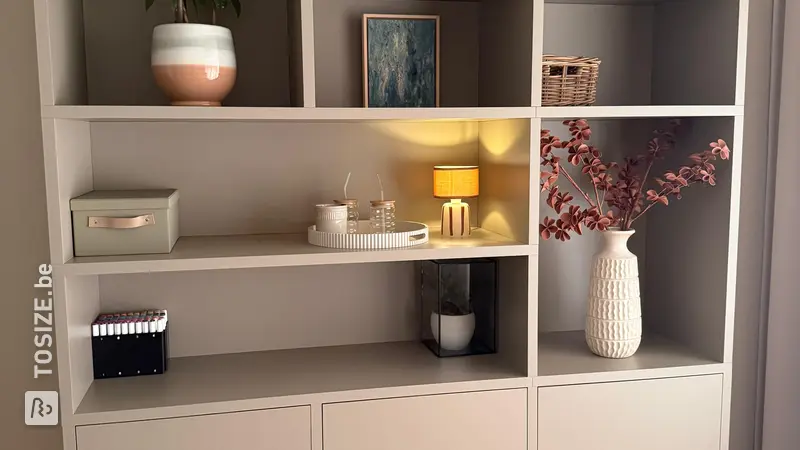
We're very happy with the final result. Calculating the cabinet size was very easy, and assembly went smoothly. Ultimately, the cabinet fits perfectly in the niche, just as we envisioned.
Tip! Download our handy TOSIZE Furniture checklist!
Step by step guide
Preparation
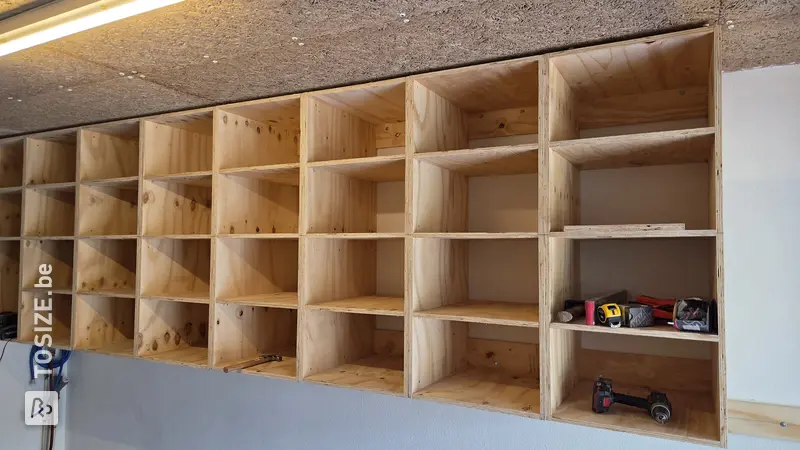
First, we unpacked all the boxes and arranged the various parts in order. All the parts are clearly numbered, and you know exactly which shelves are upright, horizontal, or for the back.
Montage
I started assembling according to the instructions. The only difference I made was that I didn't assemble the cabinet directly in the alcove. Because there was limited space, I assembled the cabinet in front of the alcove first and then moved it into place later.
Finish
For this DIY project, I had one clear challenge: a niche in my house that I didn't yet have a good idea for. The space seemed straight at first glance, but in reality, it was a few millimeters off. When I came across the OPMAATZAGEN.nl website, everything fell into place. Because you can order with millimeter precision, I was able to design a cabinet that fits perfectly in the niche.
I've done similar projects before, but I built them entirely myself. That meant a lot of trial and error, measuring, and calculating. With the design software from OPMAATZAGEN.nl, planning became much easier and more transparent.
I decided to build this cabinet myself because the niche is so specific in terms of dimensions that no prefabricated piece of furniture would really fit properly. I also looked at other suppliers, such as Tylko, but that ultimately proved too limited. A major advantage of this cabinet is that it comes primed, so I could finish it myself in the desired color.
The biggest challenge was getting the cabinet to fit as snugly as possible. You always need some leeway, and the walls are never perfectly straight. Fortunately, it worked out well in the end. The best part of this project was the moment the cabinet was in place and you saw the result of your design, assembly, and finishing come together.
Tips from Susanne
First, we unpacked all the boxes and arranged the various parts in order. All the parts are clearly numbered, and you know exactly which shelves are upright, horizontal, or for the back.
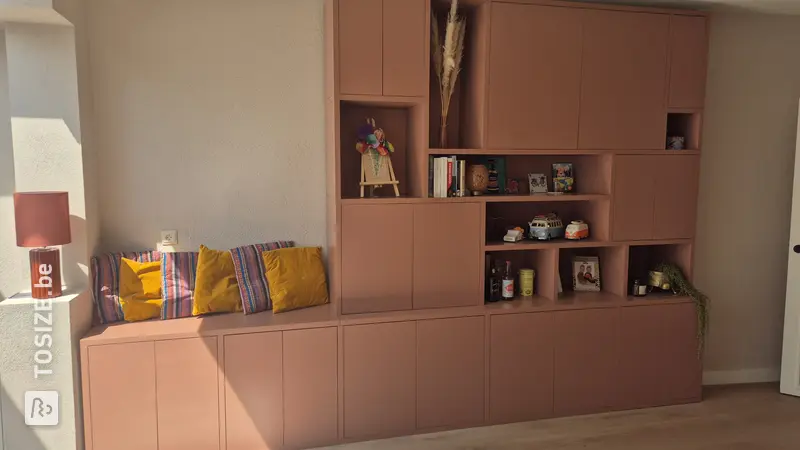
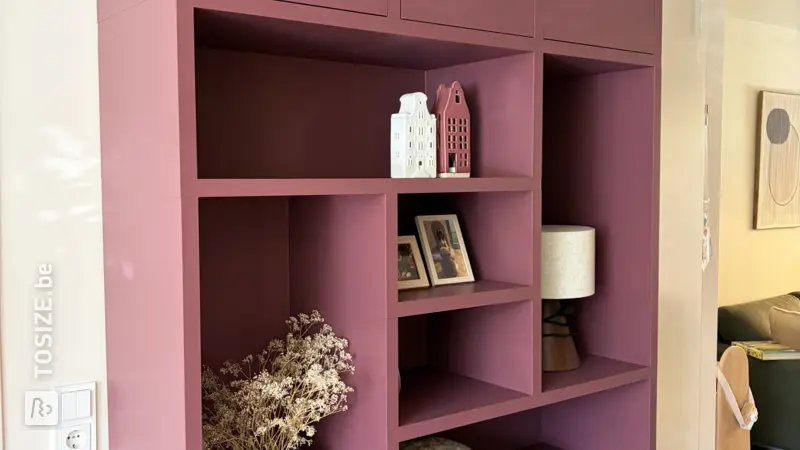
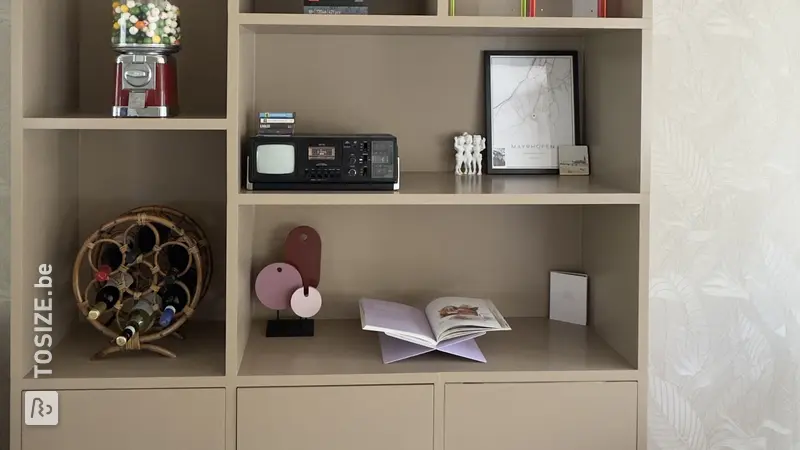
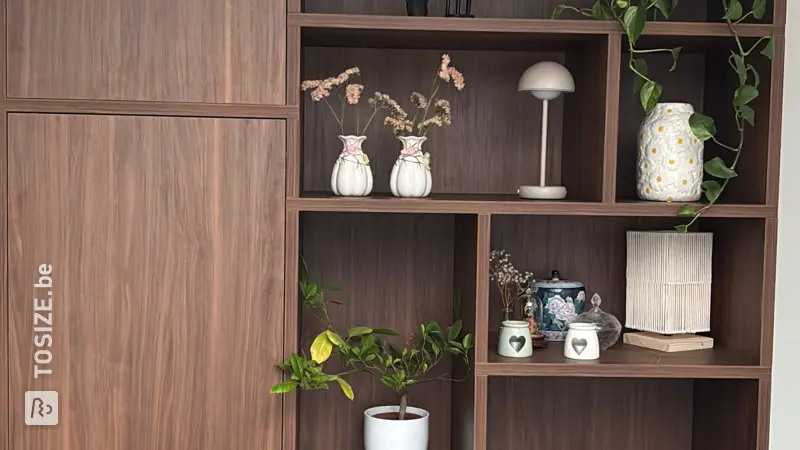
Furniture from Susanne is finished in the color
Hazelnoot GN076-04
What now?
Do you want to create this DIY project? This piece of furniture is part of our TOSIZE Furniture collection. Design your personalized, custom-made furniture using our 3D configurator! Want more information? Learn more about available colors, assembly, or browse all frequently asked questions. You’ll receive a TOSIZE Furniture package, including an installation kit.
€1,017.00
All materials used
View all furniture